
I'd been idly wondering how I could rig up a play tent out of some surplus orange curtains in time for the visitation of the grand-daughters at Christmas. We used to hang curtains or tablecloths over the dining table for our own children when they were young, but our current dining table doesn't lend itself to having toddlers crawling underneath and making a den there.

And then my internet searches brought up the idea of a DIY teepee. The curtains were big enough that, with a join in the back, I could make a teepee for our little ones.
Read below how I made it.
I started with my usual hunt for ideas and patterns. This is the one mine is based on, so if you want the detailed pattern, here's the link. But carry on reading my blog, too, as I learned some things in making mine that might help.


Both of these come complete with free pattern and instructions. I used the Pink Toes and Power Tools one as it worked perfectly for the curtain size I had.
I was able to make my teepee for a very modest outlay. The curtains were free, and all I actually had to buy was some material to make the casings for the support posts, and the support posts - oh, and some sewing thread in a colour to match the curtains. I also used some tape I already had.
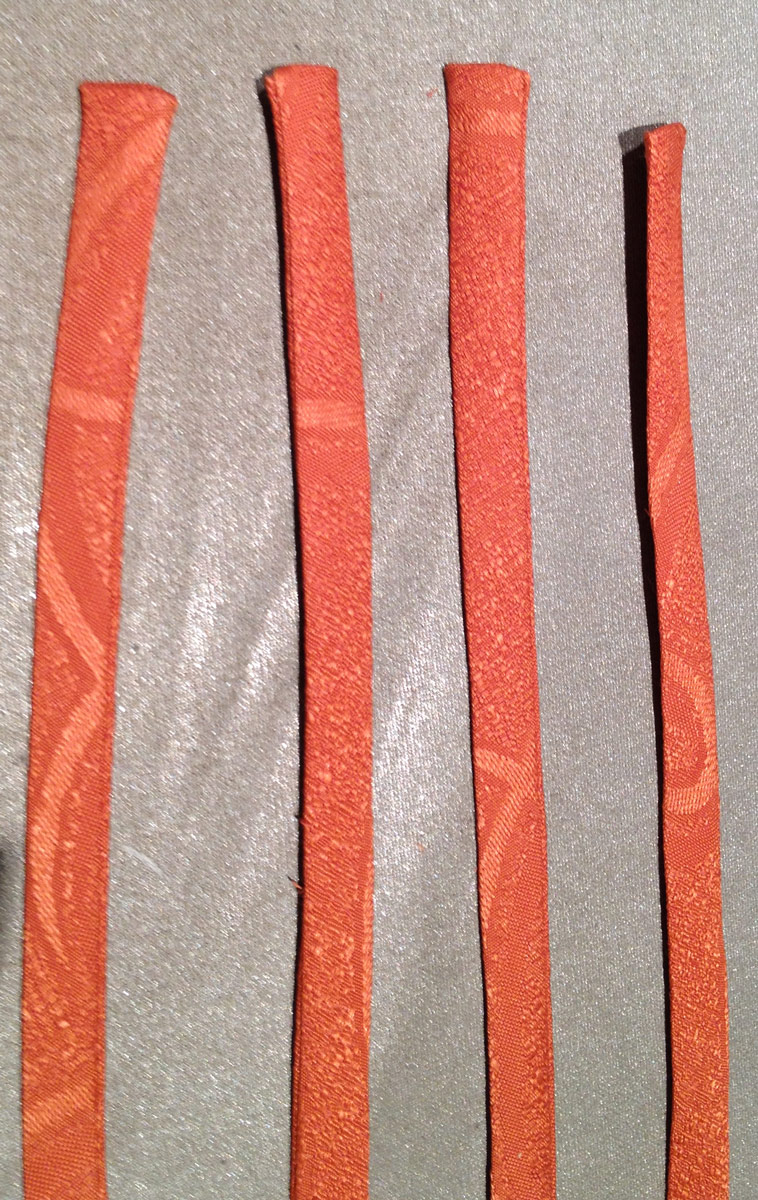
The material for the support post casings was quite easy. I went to Fabricland looking for something possibly stripey like the fabric used in the Pink Toes teepee. I didn't see anything stripey, but then I found this camouflage patterned material I thought would work well ........

It is a thick cotton (I think) and is 60" wide - the exact length needed for the casings! Although it isn't normally advisable to use material across the grain rather than along it, I didn't think this would matter at all for this usage. There was very little stretch in either direction, and so I was able to cut my 60" x 5" strips very easily from less than a metre of fabric.
Although the Pink Toes' instructions suggest you use 3/4" plastic pipes for the support posts, we have prior experience of using these (for the baby gym we made for the girls). They are really too flexible, especially with a relatively heavy material like our curtaining, and some of the comments on the Pink Toes web site suggested there could be a problem with sagging, or the legs sliding apart, or both. With the baby gym, we had ended up having to put in a horizontal supporting string through some drilled holes to stop the legs sliding, and that was obviously much smaller, and bearing less weight, than the teepee would be.
I asked Mr Newgrandpa (who doesn't want to sew at all but is pretty handy with DIY) to rack his brains as to what type of posts we could use. (I'd already thought metal conduit or white metal wardrobe rails would be stronger, but he pointed out this would cost at least £40 - by which time we could have bought a posh teepee.) And what he came up with was these 72" garden stakes, which were about £2.50 each - a more reasonable £10 in total. They have a little pointed bit at one end for you to push this into the ground, but as we're unlikely to want to use the teepee outside at this time of year, I've put those to the top.

I had also bought 8 metres of double-fold bias binding by mistake - the colour, that is - and I thought I could use this to finish all the internal seams, rather than just zigzagging them. (Don't have a serger.) You can see the colour on the tapes above. A sort of dirty beige. More about this later.
I cut my pattern from the measurements on the Pink Toes web site, out of newspapers sheets stuck together.
I used one curtain (all unpicked) to cut out one of the sides on the fold, (which is at the bottom of the picture below) and the two front bottoms. I laid it out with the pattern for the front bottoms the opposite way up to the side piece so they would fit side by side. Take note of the diagonal strip in between the pattern pieces - I found a use for that later!

What you can't see in this picture above, is that there was a lot more of the curtain to the left of the picture:

Having cut these two pieces out, I refolded the remaining material, and I cut the front top, folded in half, on the fold too. I so hate wasting material, and this left me a better size piece for future use.
Out of the other curtain, I cut another side on the fold, and the final side had to be cut in two pieces (helped by the fact that the curtains still had their selvedges), again, with the pattern reversed so it would fit side by side on the fabric.
This meant that my first sewing task wasn't in the Pink Toes tutorial at all - I had to join my two back pieces.

Thereafter it was mostly plain sailing, and I followed the tutorial with just a few changes.
So I did all the top hems. (You can see the one on the back panel in the picture above.) And the hems on the inner edges of the front bottom pieces. Then I joined the two front bottom pieces (which form the flaps) to the front top. First I pinned them to the top so I could work out the overlap.

Then I added some bias tape. First I sewed one side of the tape.

Then I folded it over and sewed the other side so the seam was fully enclosed.

My experience of babies and toddlers is that any loose threads or tags or flappy bits are of extreme interest, and could get pulled or picked at. What baby doesn't prefer chewing the washing instruction / fire safety labels on the soft toy more than the soft toy? So I didn't want any bits that could fray or get roughed up.
The next step was to do the bottom hems. When it comes to doing these, Pink Toes suggests you make the bottom hem on the front flaps (the opening side) first, and then make sure that you trim your other three panels so they are at least the hem depth longer than the front, and then hem the other three panels. However, having hemmed the front pieces, and laid the other panels on top, I found that, far from being shorter, my front was actually longer than the other three sides, so I ended up having to unpick and shorten the front a bit. So in future I would lay them all on top of each other to check the lengths before hemming any of the bottoms.
The next stage was to add the casings for the support posts between the 4 panels (2 sides, front and back.) I found it easiest to do a quick seam a bare 1/4" from the edges to hold the two edges of the casing together, before trying to insert between two panels. This was to stop the casing slipping or coming unfolded. This seam was eventually trimmed away as my casings were a bit wider than they needed to be.

When I attached the long casing pieces for the support posts, I also attached bias binding on what would be the inside. (I explained earlier how I had done this to the centre seam on the front.)
Adding a bias binding finish to the casing seams was fairly easy to do. I attached the opened out side of the double fold bias binding while doing the first seam which encloses the support post casing (Pink Toes calls them loops but they are really long thin tubes of material, so I prefer to call them casings).

Now, I made one mistake here. As you can see above, I had cut off the bias tape to about the same length as the casings and sides. HOWEVER ... after the teepee was completed and assembled, I decided I needed a plan to stop the casings slipping down the posts. More about this later. But if you want to do this, you should leave about 17" extra tape at the top, not cut off! You'll see why, later.
Then I trimmed down the seam a bit (I didn't need the casings to be as wide as on the pattern, for the posts I was using) and folded over the bias tape. I did the second, reinforcing seam, so that the bias tape enclosed all the raw edges inside. I did this for the two back casings, i.e. those joining the back to the sides, but before I joined the front, I had another refinement to make to the Pink Toes design.
This was to add some ties to the front so the door flaps could be tied back. I made these out of the spare bits of material about 2 1/4" wide on the diagonal that were created between the pattern pieces as I cut them out. I made them about 24" long ( or 62 cms). I folded them in half right sides together, and seamed down the length about 5/8" from the fold. I turned them the right way out with the use of a safety pin, and pressed them. On this picture you can see the strips before folding, folded right sides together with the long seam completed, and turned back the right way out but before pressing.

I also neatened the end of each by pressing in a little bit folded in, and oversewing the folded-under bit at the end. I also oversewed along the length to stop them twisting.
I attached these about 24" from the bottom of the sides of the front, one inside and one outside.

In fact, I put one about 24 1/2" from the bottom, and the one behind it at 24", so they were offset. I did this so I wouldn't have to sew through a very thick lot of layers.

Then, when I joined the front to one of the sides and the front tube, I enclosed one of the ties between the front and the casing, and the other between the front and my bias tape. If you weren't going to have bias tape, you'd just put the second one on top of the front. So when I sewed the first seam, my layers, working from the bottom up, were:
1) side piece of the teepee
2) folded casing
3) first of the ties
4) front piece of the teepee
5) second of the ties (offset compared with the first)
6) opened out bias tape.
Again, I trimmed the seam a bit, and folded the bias tape over all of this and pinned and sewed it to enclose all the raw edges. Some of the seams were a bit thick in parts, especially the ends and where the ties were. I tend to hand-trun my machine over these tricky bits so I don't risk breaking a needle. You can sometimes go up and down a bit until the needle will go through.
It then just remained to put the garden stakes in the tubes (having drilled the holes - we made ours about 4 1/2" from the top) and attach some wire through these holes to keep the stakes in place. Then slide the posts into the casings, stand it up - and you're done!

Well, we would have been if we hadn't thought - these casings are going to slide down the posts a bit, and drag the whole thing down. So (why didn't I think of this earlier?) I made the remainder of my beige bias tape into 4 extra ties. These were about 17" long - that times 4 ties was about how much of my 8 metres of tape was left.

Then I sewed one to each top corner (to the top of the tape inside, where I'd cut it off) and tied them in pairs across the top of the crossed posts.

This successfully stopped the teepee sliding down the poles. But If I'd thought about this earlier, I could have just left the tape longer when I sewed it to the seams in the first place, and seamed along the bit that extended beyond the casing, and I would have had ready made ties already incorporated.
In all, the teepee took a couple of days to make, and I used about 8 metres of double-fold bias binding tape, and just over 100 metres of sewing thread. I know it was just over 100 metres, because I'd bought a 100 metre reel hoping it would be enough, and I ran out while I was on the last casing. But fortunately I had a bit of a similar colour left on an old reel.
I'm really pleased with the size, I think it will provide a perfect entertainment for the girls at Christmas. I hope they are going to love it!


So thank you again to Pink Toes for the design and inspiration!
Since I wrote this post, I found another wigwam design from Torie Jayne. It uses similar principles, and has very easy steps explained. It requires 54" material (3.15 metres, assuming it is completely square). Each of the two tie backs is made all in one - i.e. one string through the corner, half inside and half outside the tent. That is a good idea and would save having thick pieces to attach where the individual ties have been finished, if I'd thought of it I could have done that too. It also includes a way of attaching to a floor quilt, using eyelets. However, that's where I lose it, because I have never done eyelets. From the comments, it also appears that people are having trouble with the pole casings sliding down the pole. So I still recommend my method of having a tape at the top of each corner that can be tied over where the poles cross.
Before I tell you about the teepee I made, here is another alternative method. I found this on the Sewmamasew web site, which I have referred to again and again for ideas. It is called a Child's tent, with 6 poles rather than 4, and is made of one big half circle of material. Because I wanted to use my curtains, that wouldn't have worked for me, but I think it's a clever design, especially if you know how to insert grommets. And not into a child's ears. So thank you also to Sewmamsew, and Meg, whose tutorial it is. (I've now taken the Sew Mama Sew link out because unfortunately it no longer works. Last time I looked, pretty much the complete tutorial was here though. Don't blame me if it isn't there any longer.)