Front view:

Back view:

This top was made from a maternity pattern. I've commented elsewhere on how difficult it is to find good maternity patterns, and how easy to adapt non-maternity tops. However, trousers is a different matter, and having finally found a maternity pattern which included trousers, I thought I'd give the top a go as well. (However, if you don't want to spend money on a specific maternity top, I've given lots of ideas for how to adapt other patterns, here.
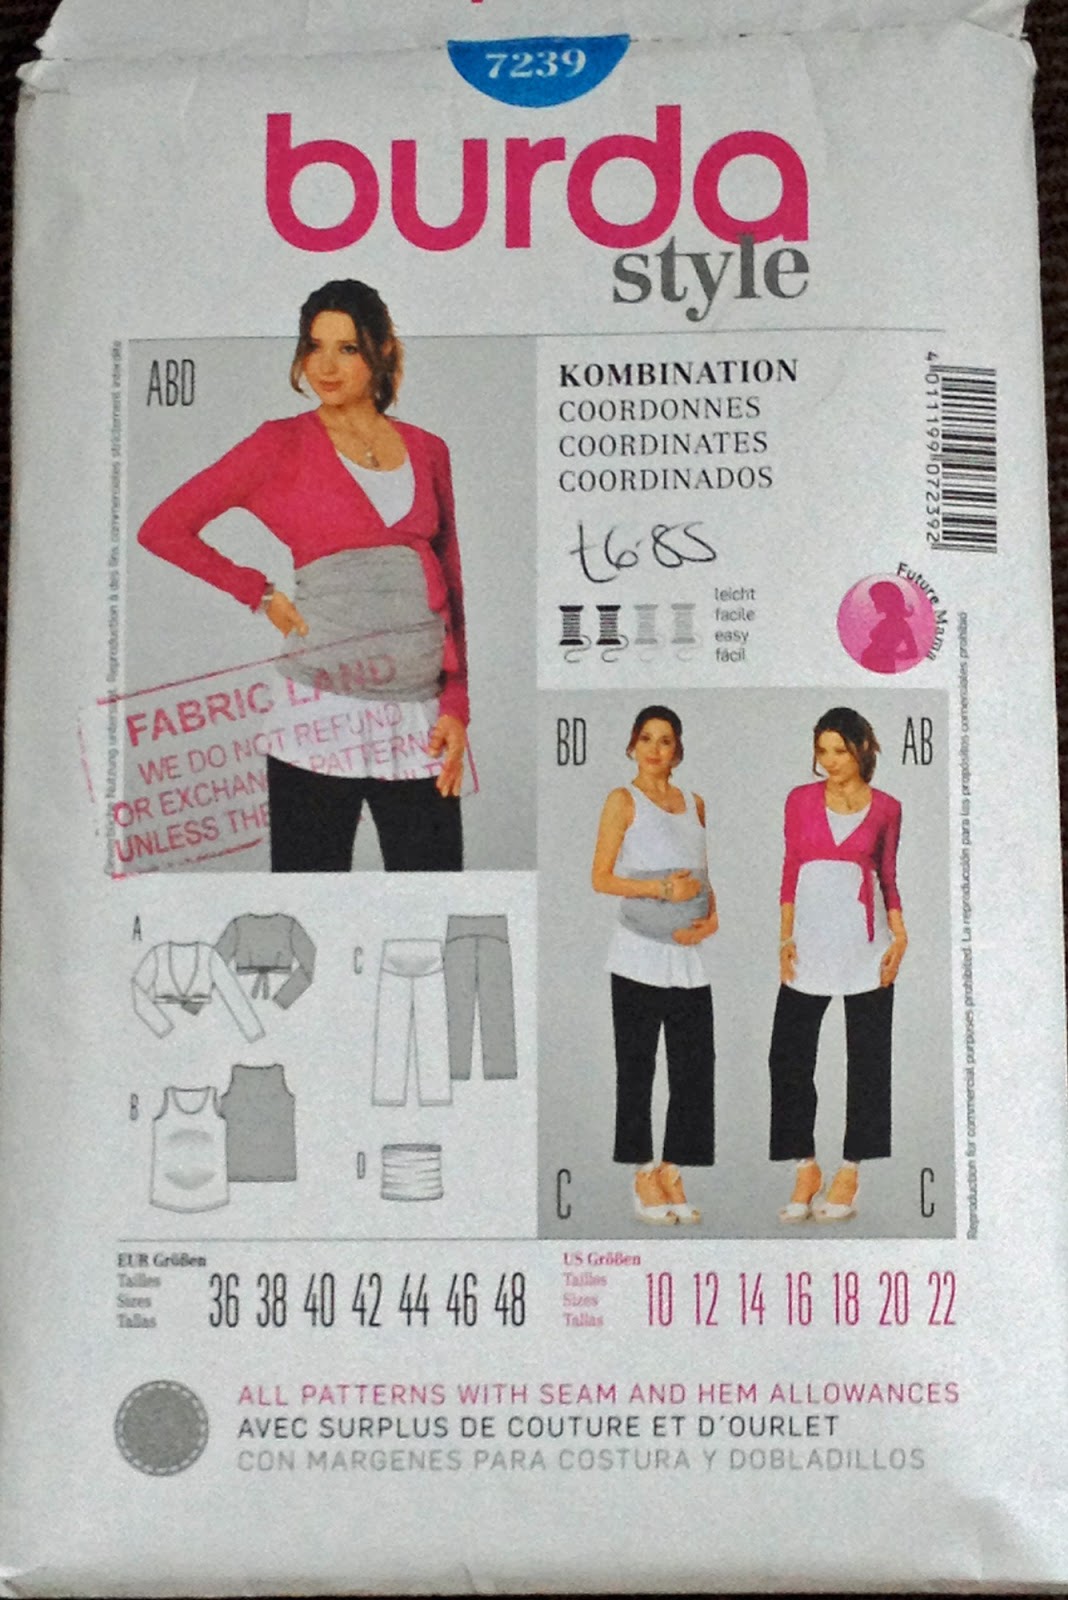
The pattern I used was Burda 7239.

I find all the Burda patterns a bit difficult as they don't give UK sizes, but only US sizes, or what they call European, but these are not European sizes as I recognise them. (An Italian size 38-40 is a UK 8-10, which I believe is US 4-6. And it can't be inches, as they use centimetres in Europe.) So I have to guess a bit based on the actual measured measurements of the pattern, and the measurements of the person. You then have to figure out how much ease to allow. They are also made for someone with very long shoulders, or who doesn't mind a deep decolletage.
I ended up using the cutting lines for size 12 on the armholes and sides, but for the shoulders I used size 10 (and cut the neckline even higher). The top is still on the large size for the person it was made for, who is a UK size 14 (while sporting a pregnant bust). However, it's intended as a loose-fitting summer top, so it will be fine.
Apart from the cutting out, the other modification I made was to the armhole and neck bindings. The usual method for binding necklines and armholes with stretch fabric (or T shirt fabric) is to fold the binding in half and attach it to the raw edge using an overlocker or tight zig zag stitch. Although I have done this in the past, personally speaking, I don't really like it. It's what you most often get with ready-made T shirts. But the neckline tends to roll a bit, and you still have a fairly raw edge. So I treated the binding like bias binding, sewed one side then folded over and folded again, with the raw edges inside. You can see this most easily on this armhole binding.
The pattern I used was Burda 7239.
I ended up using the cutting lines for size 12 on the armholes and sides, but for the shoulders I used size 10 (and cut the neckline even higher). The top is still on the large size for the person it was made for, who is a UK size 14 (while sporting a pregnant bust). However, it's intended as a loose-fitting summer top, so it will be fine.
Apart from the cutting out, the other modification I made was to the armhole and neck bindings. The usual method for binding necklines and armholes with stretch fabric (or T shirt fabric) is to fold the binding in half and attach it to the raw edge using an overlocker or tight zig zag stitch. Although I have done this in the past, personally speaking, I don't really like it. It's what you most often get with ready-made T shirts. But the neckline tends to roll a bit, and you still have a fairly raw edge. So I treated the binding like bias binding, sewed one side then folded over and folded again, with the raw edges inside. You can see this most easily on this armhole binding.

However, this project was a bit frustrating to start with. There was not quite enough material left to cut out a whole front and 2 back pieces. But with a bit of juggling, there were enough pieces to be able to cut out the back pieces, and then I cut a separate front yoke and lower front and joined them. I cut the front pattern piece straight across, and then added about half an inch to the length of each of my two pieces to form a 1/2" seam allowance. The seam across the chest at the front hardly showed at all. Can you see where it is in the picture below?

Here's a detail of the back, a small button was attached to one side, and a loop of self-fabric the other side.


Sadly, I may not get to see them worn together. My daughter likes her watermelon top enough that she wants to use it primarily for work. If her daughter wears hers on days when Mum is working, then Daddy will be dressing her and taking her to nursery. So mother and daughter won't be together to pose for photos. I may have to satisfy myself with photos of each of them individually, unless my daughter can be persuaded to wear her top at a weekend.
Wait - just a moment.......

No comments:
Post a Comment