

Overall, I do like this pattern, and I'll use it again. Here is the link to Hey June's Monkey Bar Skirt. The pattern is a free PDF. There are two skirt styles, a gathered skirt (as I've made) or a two layered skirt.
First, what are the best points or this pattern?
- Well, there are very clear instructions.
- There are only a few pattern pieces.
- It made up really easily.
- And the sizes run from 2 years old to 10-11.
Note that the pattern is designed for knits, at least, for the shorts. The shorts might be too tight in woven fabric. But my skirts were woven.

As well as being a bit loose, it may look a bit long, but she'd insisted on trying it on without a T shirt. And as her hip measurement is smaller than her waist measurement, all her skirts and shorts have a tendency to slide down! Later we tried it on with a T shirt and it stayed closer to her waist.

Any disadvantages to this Hey June pattern? Not really, except that I found the skirt lengths by age a bit inconsistent between the two skirt versions. That didn't matter at all to me, as I ignored the skirt length and went by the girls' measurements. And I only used the single layer skirt anyway.
So, how did I get on? As I said, it was pretty easy. I'll describe below anything I did that was not quite as June's instructions, or tips I can offer to help you make up your own version. I've highlighted these points in red.
First, I traced the pattern for the sizes I want. I traced 5 and 6 on one piece of tracing paper, and the 7-8 and 9-10 on another. I'll trace the smaller sizes separately as and when I need them. This saves me having to cut the printed pattern. With 2 sizes on each piece, I need to fold in the larger size when cutting the smaller size - like this.

For the smaller of the two pairs I made (age 6 for a 4 year old) I had plenty of the knit fabric I was going to use for the shorts and waist band. For the larger pair, I was re-purposing an adult top that I had picked apart. Unfortunately, width-ways, it was a bit too narrow to cut the 7-8 pattern. Fortunately, I realised the fabric has good vertical as well as horizontal stretch.


So I simply moved the pattern piece for the shorts round through 90 degrees, and had enough fabric that way.

Here's the first thing I did a bit differently. First, I cut the shorts a bit longer, adding 3/4" to the smaller size and 1 1/4" to the larger size.

Then I also added a little bit to the back rise - almost 3/8" and 1/2". You don't have to do this, but our grand-daughters have well-rounded bottoms, so I didn't want the back waist too low..

Once the pieces were cut out, it was easy to put them together, first the crutch seams, and then the inseam (having pressed them first). I pressed the two crutch seams opposite ways when I joined the inseams, to reduce bulk. But before I did the inseam, I pressed up and sewed the leg hems, apart from the last inch or so each end. I used a zig zag stitch. (You'll notice I don't have a serger or overlock machine. This zigzag works well and looks neat on the outside.)


The reason for doing most of the hem first, is that it is so much easier to do it while the legs are still flat, rather than trying to do the whole small leg hole once it is a circle . Then I finish the last bit of hem after doing the inseam.
As soon as the shorts were put together, I added a little tag to the back seam, so it's easy to tell the front from the back in putting them on.

Now for the skirt. I decide to use the single layer skirt for both sizes. However, I flared the sides out a bit more (22 degrees, to be precise), to give a fuller skirt. And lengthened it, by 1" and 1 1/2",as I had already lengthened the shorts.
June suggests that the skirt, as well as the shorts, are made of knit fabric. However, I already had some woven cotton I wanted to use, in an Egyptian print. (below) and a pirate ship print. June agrees this may be possible provided you allow enough stretch in the waist. You'll see how I did this later.

I had a good width of fabric for the smaller Egyptian one. but the pirate ship fabric was quite narrow. So I ended up adding in a wedge of a contrasting pirate fabric at each side. This shows the wedge of the red fabric attached to one side of the skirt.

Below you can see how I finished the seams - a tight zigzag stitch over the edge. (No serger, as I said.)

Now, attaching a woven skirt to a knit top requires a bit of thought. If you just gather the skirt and attach it using a straight stitch, you'll lose all the stretch. You need to keep some elasticity in the top once it is gathered. One way is to attach the skirt using some clear elastic (using a zig zag stitch - see this post). But an alternative I came up with for these skirt was to run a single gathering line around, with a straight stitch, but with shirring elastic in the bobbin. This worked really well. It gathered as I sewed, but was still stretchy. I left a good length of elastic so it wouldn't pull through, and loosely knotted the ends together,


To baste the shorts and skirt together, I pinned the centre seams, and where the side seam would be (i.e. halfway between). I was prepared to do a little 'easing to fit', but in fact it all fitted together nicely, as I went round adding in more pins. So I then basted the two together using a zigzag stitch.

I had made the waistband into a loop. and did the same pinning round to fit. However, I chose to first pin the outside of the waistband right sides together with the outside of the skirt, so I would be able to completely encase the seam.

Next, I folded and pressed the waistband over, and pinned it over the seam. Then I sewed it round (again, a zigzag stitch) apart from the last couple of inches.

Why apart from the last couple of inches? Because I wanted to thread some soft 1 1/2" (c 38mm) elastic through the waistband. It would measure more or less the same as the girls' waists.

My grand-daughters are all slim, and skirts have a habit of sliding down. I'd noticed on the Hey June web site that someone had mentioned a tendency for this. It probably would be less the case if you used knits with a very tight recovery (mine weren't, particularly) but I didn't want to chance slippage. And I'm glad I included the elastic. Having threaded it through, I joined the ends, overlapping by about 1 1/2", and closed the gap. (This would allow for later growth if necessary.)
Here's the pirate skirt finished. (And showing the shorts underneath.)


Below, here is the Egyptian fabric version (it was delivered first so I was able to get earlier in-wear shots.) You can see that even with the elastic, it fits low without a T shirt. I could probably have overlapped the elastic further.
Then I asked her to show me the shorts. She went a bit to extremes in the first picture!

But then she was persuaded to put on a T shirt (while doing some weight-lifting) and give me another view of the shorts.


Now here's the completed pirate skirt.

And showing the shorts.

They are pretty pleased with their monkey bar shorts, and I notice from the holiday pictures they were worn a lot!


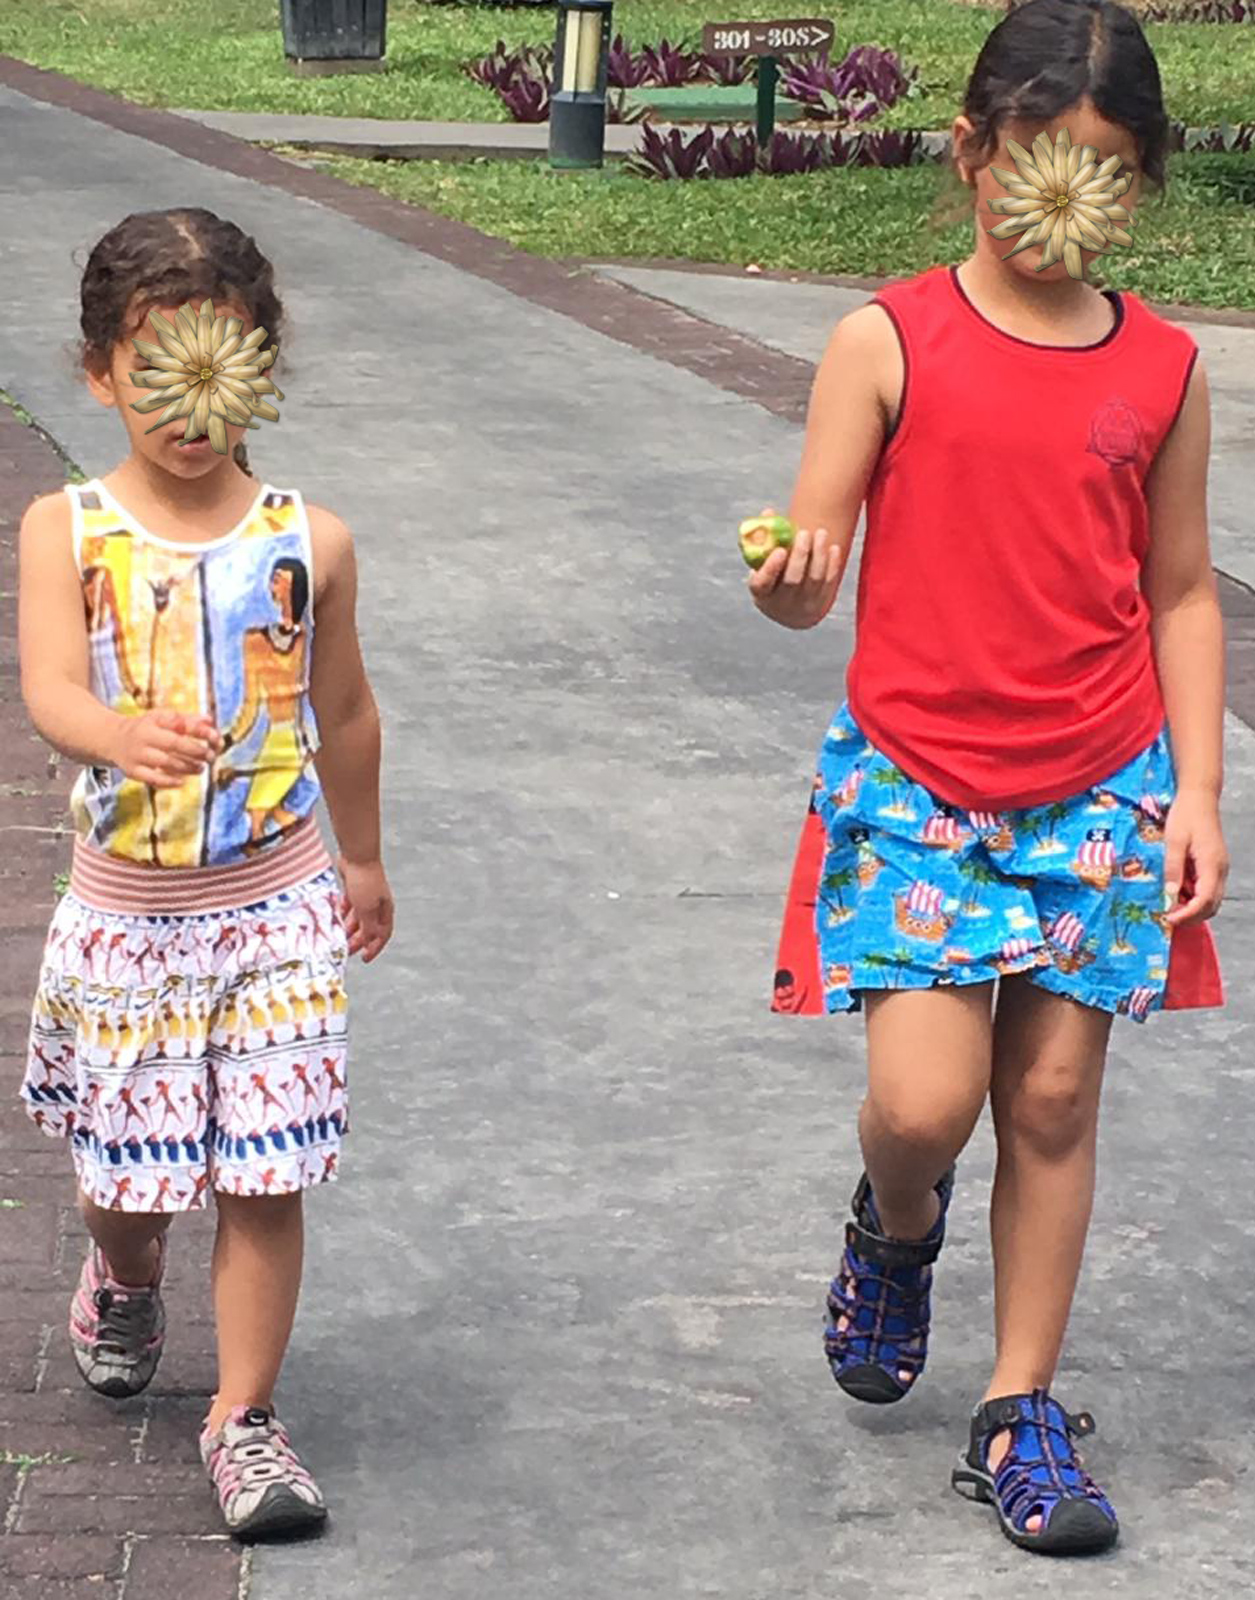
Here are Rose and Fleur having an animated and serious discussion about coconuts!
Overall summary? Yes, the Hey June pattern is definitely one I'll use again, especially with the small modifications I made, and I can recommend it!
No comments:
Post a Comment