
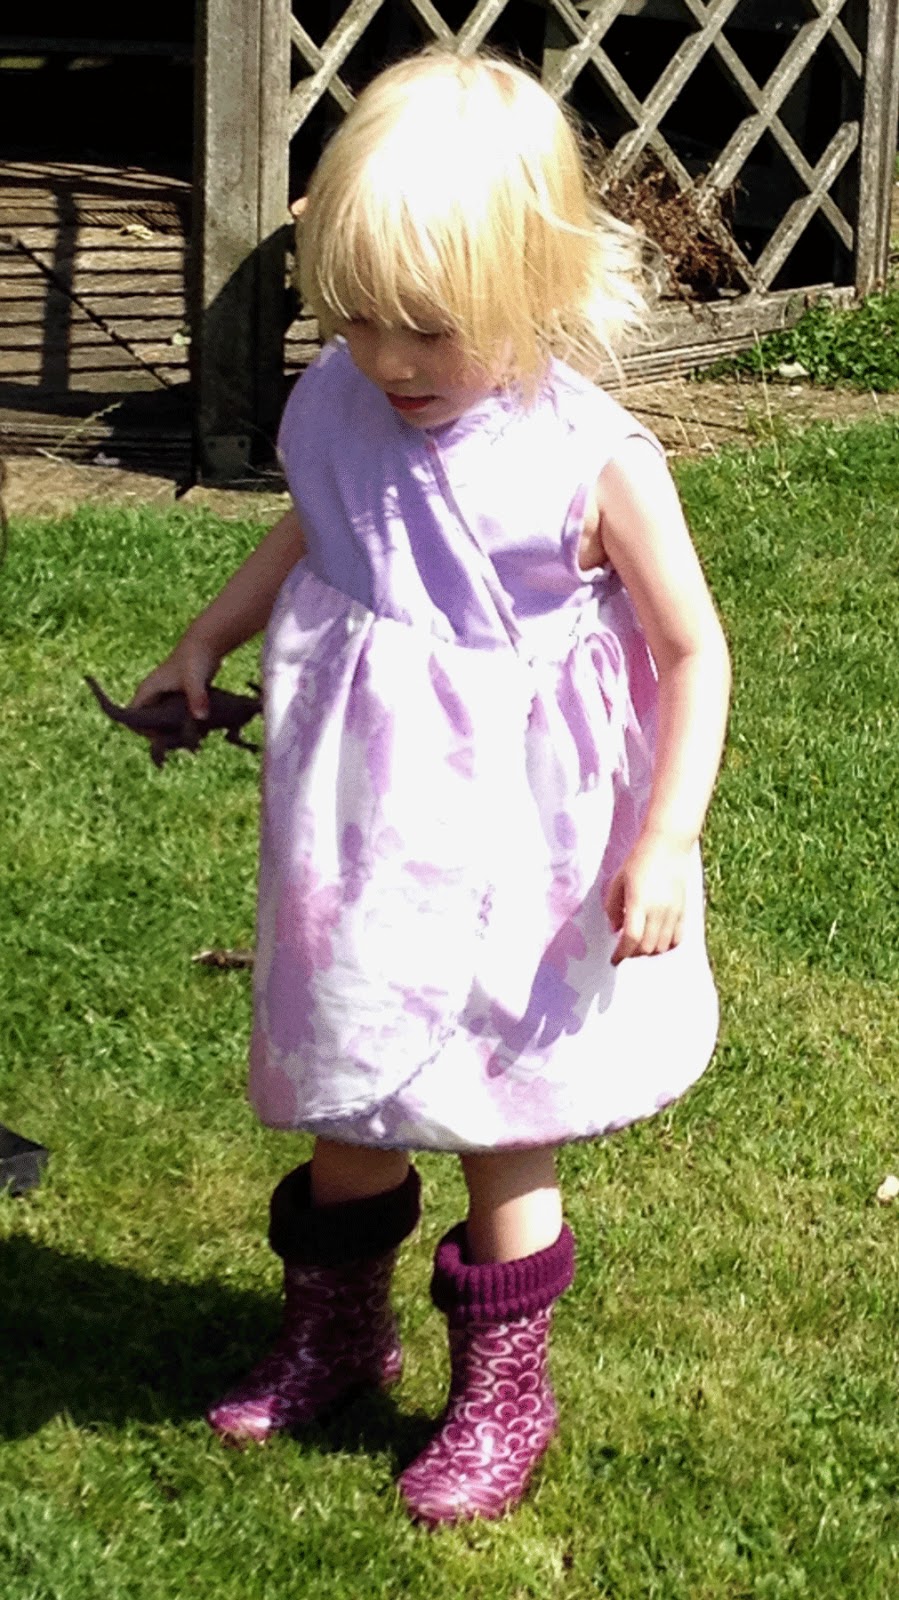
I can now tell you about another free pattern that I've been loving making. The dress above was the first of three, and I may well make more next summer. To find out more about the free pattern and how I made it up for my three grand-daughters, read on.
The pattern I've used for all three of my most recent dresses for the girls has been this one from Blooms and Bugs. Anshu says the pattern is 3T which I think means for 3 years old, but I've used it successfully with minor adjustments for different ages. Please don't use Anshu's pattern for commercial purposes without her permission. You can find out more information and the pattern on her site which I've linked to.
I've made two main differences in making up my dresses compared with her tutorial. Firstly, as you can see above, I've not used buttons for the closure, but ties both inside and out. This enables you to have more flexibility regarding the size fitting (width-wise) and can allow for some growth in chest measurement. (I also hate making button holes!) Secondly, in each of the three dresses, I made the bodice part double thickness (i.e. I lined it with a plain fabric) so as to encase the raw edges of the skirt, and to make it a bit more substantial.
Here are the other two dresses, one larger and one smaller than the lilac one above:

So let me tell you how I went about making the dresses. The pattern provided gives you just the bodice, plus the instructions for making the skirt.
The three sizes I was making for were:
- one toddler not yet 2 - that's Rose
- another toddler 2 and a half - Jane
- a tall 3 year old who is regularly wearing size 4-5, even 5-6 - Fleur.
To make the bodices, I slightly reduced the width of the pattern for the under 2 girl. But only a bit. With the ties method of closure, you can tie the dress a bit tighter or looser and this gives you a fair amount of flexibility. So all I did was take a tiny bit off the centre back by placing the pattern fold line just over the fold - no more than 1/4" off the pattern, or 1/2" in total off the back; and I did a weeny pleat in the pattern for the front to take about half an inch in total off the front as well. You could make the bodice a bit shorter or longer as well if you wanted, but I didn't worry about this for this range of sizes.
For the other two girls I used the bodice pattern pretty much as it is - I may have slightly increased it for the older girl but by so little I can't remember!
So let's start with the bodices.
All the materials I used were either thin cotton or polycotton. So I cut two layers for the bodices. This made them more substantial. On the blue dress this was self-coloured because I used the same fabric for both layers.
First, I made the ties. I made these from long strips of fabric - you could use extra bias tape to save effort. I made my own bias tape for all of the dresses, so I just made extra. (The ties don't have to be on the bias though, if you are short of fabric.) I used 4 strips 1 5/8" wide by about 13 inches long to make the ties. Each one was folded in half, pressed, and then the edges folded in to meet the middle line and pressed again. If you have a bias tape maker, you can make the strips that way, then fold in half again. They should end up about 3/8" wide. I also finished one end of each.
Next, I sewed up the shoulder seams, and then the side seams, as Anshu's tutorial suggests, on both layers, so that the seams would be inside facing each other (in other words there would be no exposed seams inside the whole lined bodice). However, there was one difference. And that was that I attached two of the ties by trapping them in the side seams. If you want the dress to cross over right over left, as I have done, you need to trap one of the ties in the outside left seam (that's the left as worn) and the other one on the inside right seam. (This looks the same on both layers if you think about it, because one will be reversed inside the other one.)
Here's one of the ties trapped.

You can then then set the bodice pieces aside while making up the skirt. I did this on the lilac one, and I think it's the better way, though on the blue one, as you'll see from the pictures later, I did more work on the bodice first. I'll assume you'll use what I think is the better approach.
Anshu doesn't give a pattern for the skirt. It is made from a rectangle of fabric, which you fold in half and cut a curve to make the curved hem shape. She gives instructions how to do this, but it's easy enough to do it by eye. Obviously, you can make the skirt whatever length you want. I didn't vary the width (just used a full width of fabric in each case) but the lengths were about 13", 15-16", and 18-19". Because of the curved and decorated hem, you don't really have length you can grow in the hem. If you did want to allow for some growth, you may be able to allow a bit extra at the TOP of the skirt, to let down later, but this might make it a bit bulky. I preferred to think instead that the dress can change from a full length dress to a top to wear with trousers as the child grows.
I attached the ric-rac braiding in the way suggested by Anshu. One the lilac dress, where the skirt fabric was very fine, I had also made an underskirt for this, but I just attached the ric rac to the outer layer.
First you sew it on the outside, near the edge, then you fold it under and over sew, so you just see the edge of the ric-rac peeking out.

With hindsight it would have been better if I'd turned the second picture sideways, it would be easier to see the two steps. Hopefully it will be clear enough!


Then stitch round to attach the skirt, press it all nicely, and turn the bodice so the inside layer is inside the outer layer, and match up the neckline edges and the armhole edges.
Next stage is to attach the bias tape round the armholes, and then round the neckline. Here's the armhole pinned, with the tape opened and pinned on the outside of the bodice through both layers. (You can see on the blue version I did this before attaching the skirt. Both worked but I think on balance attaching the skirt first is better.)

I then pinned the opened up bias tape round the outside neckline. (Again, through both layers.)

I then sewed round these seams, and pressed it, refolding the tape as I went. However, before I sewed the tape to the inside, I attached my last two ties to the ends of the neckline where they join the skirt. This was slightly fiddly as there was also the end of the ric-rac to incorporate, so I did this bit by hand.
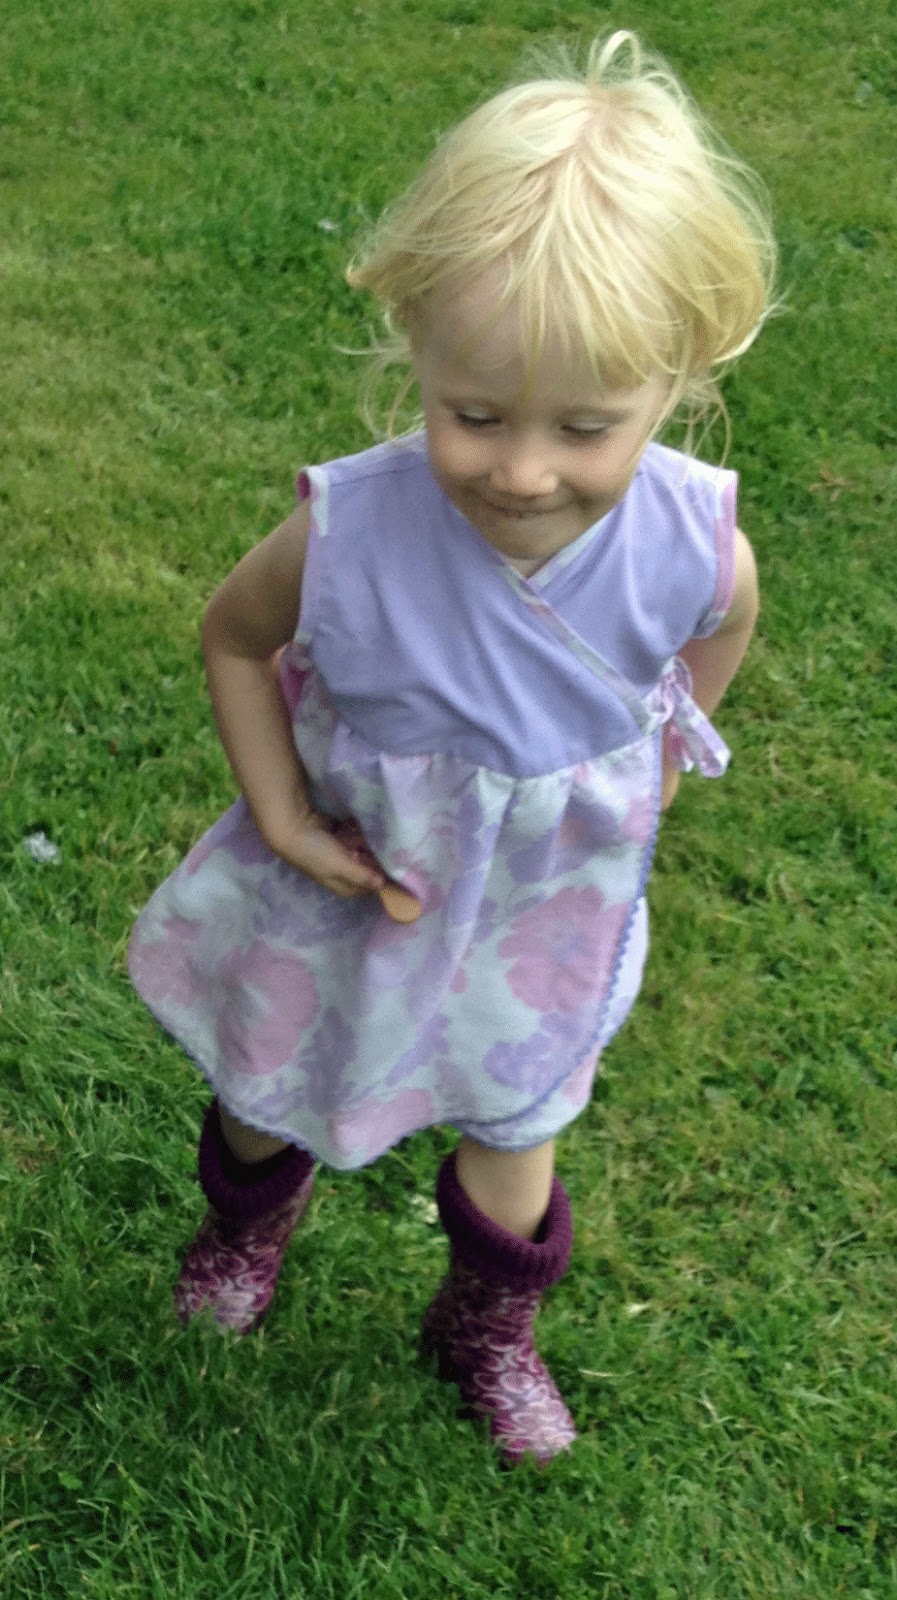
Here are two finished dresses showing the fronts, tied up (one tie is inside, on the child's right, and the other on the outside, on the child's left.). This will give you some idea of the different lengths.


I have a few pictures of the lilac one in use. That was finished first, at the tail end of summer, and got quite a lot of wear. You can see it's already getting a bit shorter on Jane, but she will still get some wear out of it as a top for the rest of this summer - it may even fit as a top next summer, or if not, maybe it will go to her smaller cousin!

The other two were planned as Christmas dresses for Jane's cousins, Fleur and Rose, who are off to warmer climes for their holidays. So I may have some photos of theirs in January.
Just one little extra. Rose, the little one, is still in nappies, but she runs around and rolls around like a dynamo. So I made her dress fairly short (the blue one) and made her a pair of knickers / nappy cover to match. This was made from Dana's magic diaper cover pattern. It's the first time I'd used her new improved pattern, but it worked well. Here's the crutch seam, you can see how the leg seams form little points into the seam, making a much neater finish.

I put a little tab in the back so her Daddy can tell which way round they go! You can just about see it here.

So here's the whole blue set, dress and knickers. Hmm - a bit blurry. I must stop taking photos when it's getting dark.


UPDATE June 2017: Rose is still wearing her dress, though it is now more of a top. And looks good with shorts as well.


No comments:
Post a Comment