
These are the first 4, completed at the same time. You can find out more about how to make skirts like these, by reading on.
My grand-daughters are now 4 and a half, 4 and a bit, 3 and a half, and not quite a year old. However, the oldest one wears size 7-8 clothes, she is pretty tall, and the second oldest is in 5-6 years. So I need to make skirts in a variety of lengths. They are all slim, though, so in the past I've over-estimated the waist size. In practice, they have all got pretty much a 19" waist (well, the baby may be a bit smaller but taking into account full tummy and a nappy, it isn't that much different!).

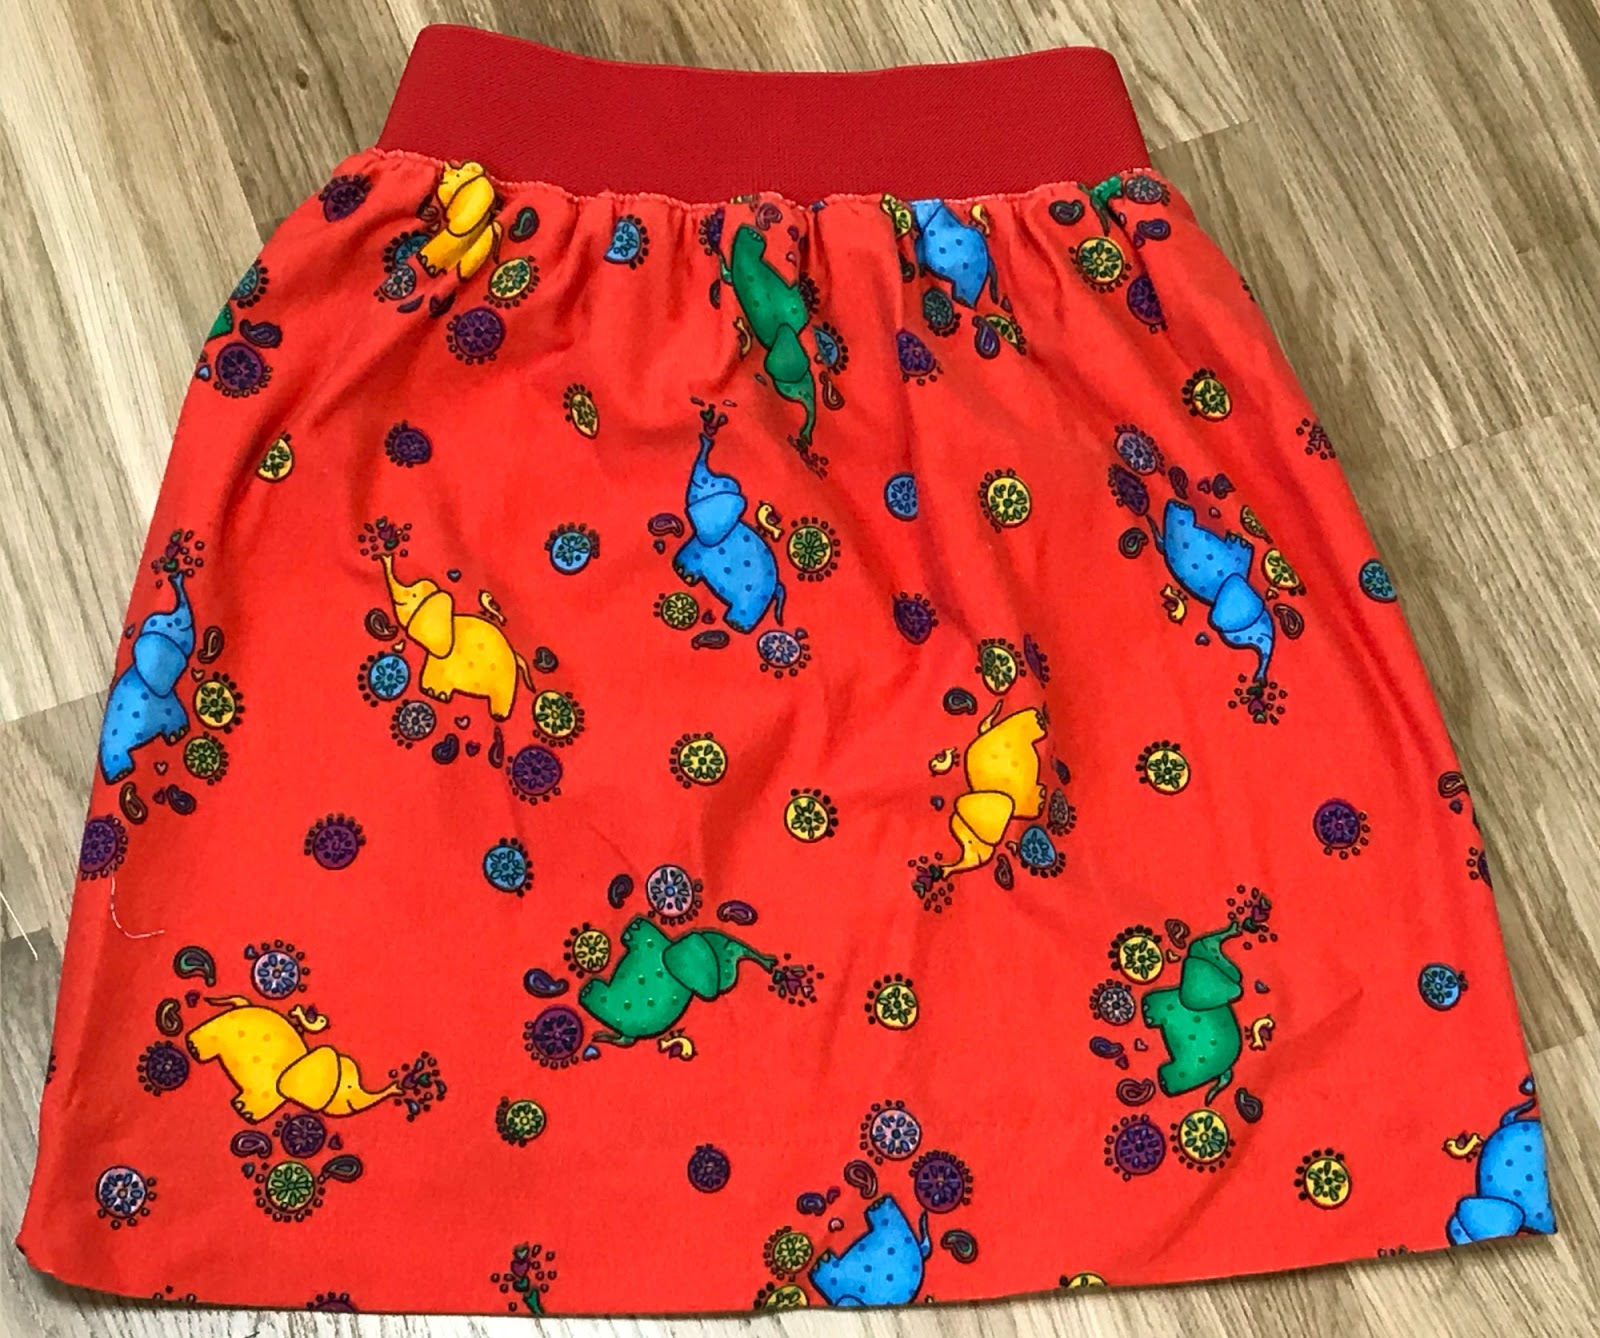
Three of these skirts used the method of attaching a rectangle of fabric to wide coloured elastic, stretched out (without stretching the fabric) As the elastic goes back to shape, so the fabric gathers. The method is covered in more detail in my post from last year on last summer's skirts.
The smallest one had a separate waistband on a gathered skirt.
Let's start with the ones using wide elastic as the waistband. First, the design. The first two two were a knit fabric and both gathered into elastic. I pretty much used the same approach you'll find used by Make It Love It. (There are other alternatives, for example using a circle skirt. I'll say a bit more about this later.)
I've had no end of problems finding the elastic recommended on some of the US web sites, I have even ordered from the States, though I was not very happy with what I had ordered - not really what I wanted. Finally I found some Prym elastic available in a number of colours.
These two skirts were made of a knit fabric, that's the red one and the cream one with butterflies. I started by cutting the waistband to the right length for the waist measurement in each case. Although it is recommended on the Make It Love It web site, I figured I wouldn't need to make the waistband into a circle and cut the fabric to the right size beforehand. My idea was to use the elastic to form its own gathers (and hence determine the width). So I started stretching the elastic (the frist lot I'd bought from the US) as hard as I could, as I attached it to the fabric. I was then going to cut the fabric to the right length, and cut off any excess in the width. Then I would make a single seam up the back, from the bottom hem of the skirt to the top of the elastic waistband.

I was not wholly happy with these two skirts. The elastic I was using (which I'd ordered from the States) was just too stiff and tight to stretch very much, so these skirts were much narrower than I would have ideally liked.

So when it came to the third skirt, which was going to be made of non-stretchy cotton, I was worried that the narrowness combined with the lack of stretch would make this into a skirt uncomfortably tight round the bottom hem. Luckily, I had just enough material (it was two fat quarters) to be able to make a wider gathered frill at the bottom to give some leg room.

By this point, I was getting a bit stressed about the tight elastic. So for the final skirt, for the baby, I decided to revert to the tried and tested method of making a waistband of the same fabric as the skirt, and gathering the fabric separately. This was so I could be sure I had it as wide as I wanted. (It was also a knit fabric.)
I joined the loosely gathered skirt to one edge of the waistband with a zigzag stitch, so it would still have some stretch in it. I then folded over the other edge of the waistband and sewed it up bar a couple of inches, and then threaded 20mm elastic through using the baby's waist measurement for the length. I overlapped the elastic and joined it, finally sewing up the gap in the waistband.

So, four skirts for four girls. The relative sizes of them may nt be very obvioud from the separate pictures above, so here they are stacked one on top of each other, waistband to waistband. This also shows the narrowness of the first two I made. Next time, I'll do better - but the skirts have been worn, so not a complete disaster. I have a little fabric left, so I may try and add a frill to each of these two ready for next summer.

Finally, although all of these were gathered skirts, I mentioned above that the same method of stretching elastic to fit the top of a skirt could be used with circle skirts. You can find out how to do this in these tutorials from Dana:
However, I would not recommend this method unless you can get hold of the right type of elastic. Much more about that in my next post on skirts - and on another new pattern idea I found.
No comments:
Post a Comment