As I did last year, I've struggled to find free PDf shorts patterns for the girls now they're older, but by making some patterns myself and adapting others, I've managed to come up with a few pairs. You can find out more about making shorts for little girls below.
Front:
Back of waistband showing tab:
As you can see, I've used contrasting pockets on these. And she seems to like the shorts!
(In spite of protesting that her younger sister is getting a longer go on the front of the motor bike!)
So I made her another pair. Previously, she had insisted she only wanted to wear blue, but now had decided red was OK, too.
For this pair, I dispensed with the front pockets. This meant re-drawing the front of pattern pieces from the Craft Passion pattern. I thought it would be nice instead to make some back pockets, so I drew a pattern for this - basically just a rectangle with rounded bottom corners. I cut the pattern with the flat top lline on the fold, to give a double thickness, With right sides together, I sewed all round the open sides, apart from a small gap in one side. Then I notched the corners so they would turn out with neatly rounded corners.
Before I turned them inside out, I pressed down the seam allowance where I had left a gap. This makes it easier to get the seam nice and straight.
Then I oversewed all the way round and attached them to the back of the shorts before I sewed any of the seams on the shorts.
I realised afterwards I should have reversed the fabric on the pockets, so I could have had the diagonals going opposite ways, but by the time I'd noticed that, we were only a day or two away from our holiday, with still more clothes to finish.
These, too, have proved popular. I'm so glad when the girls like to wear what I've made!
I like the slightly looser fit of mine compared with the Craft Passion original. Makes for easier movement. (You'll note that none of my grand-daughters have gone for 'shorty' shorts, they all like them almost knee length.)
So, what of little sister Rose? She, of course, had all her sister's hand-me downs.
The pink pair were not made from the Craft Passion size 3 pattern, which would have been too small. Instead, I used a pattern I made myself last year for cousin Jane, in a size 4. (One day, I'll add my pattern as a pdf for download.!) I made these without an inside leg seam , by overlapping the two pattern pieces for front and back.
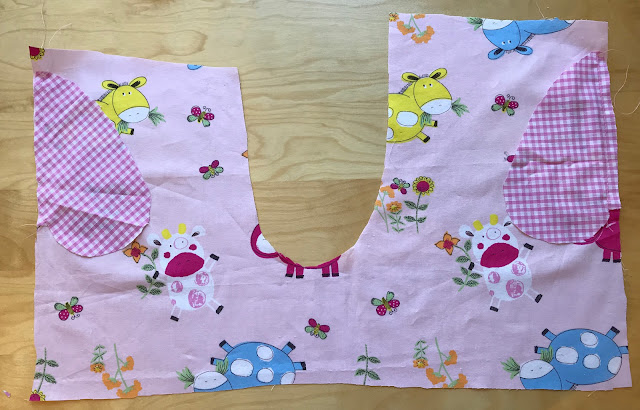
For these shorts, I went for hidden pockets. You can see above that I have pinned and then attached the two halves of one pocket to the front and back of the side seams, about an inch or so (2.5cm) below the waistline. Then I pressed them out.
At this point, I also pressed up the bottom hems (about 3/8ths and 3/8ths, or 1cm and another 1 cm). It's just easier to press when you are working with a small leg hole but a flat piece of fabric.
Next, I folded each leg, with the two pocket halves attached. I pinned the side seam from the bottom edge up to the bottom of the pocket, around the pocket, and up the last little bit of the side seam above the pocket. (In other words, I didn't go straight up the side seam, or that would have sewed the pcoket shut!)
Here's what the hidden pocket looks like when finished.
Then I sewed up the bottom hems (that I had already pressed into position).
Only then did I attach the legs together. I put one inside out, andinserted the right side out one inside, matching the crutch seams. I sewed round the seam, and zigzagged the edge (not having a serger). (If this is hard to understand, see this earlier post on some of last year's shorts. I have pictured this method on that post.)
Finally, I attached a waistband of the same fabric, leaving a gap inside to thread through 20mm elastic (about 3/4"). Actually, I left the two ends of the elastic pinned with a safety pin till were were on holiday, so I could do a final fitting.
And here's the finished pair.
And what of the baby? I didn't make her shorts this time around. Instead, she had a nice pairs of knickers, made from the Dana's Perfect Diaper Cover pattern - my go-to pattern for not only knickers but all sorts of variations. These were cut halfway between the size 6 months and size 12 months. The baby was 11 months old, but she's definitely not a podge! I've yet to get a picture of her wearing them, though I know she has done.


No comments:
Post a Comment