Baby crib quilts

Well, of course, it started with one. But by the time the first quilt was made, granddaughter No. 2 had arrived (earlier than expected), and by the time HERS was made, No. 3 was on the way. (I have two daughters, and at one stage they were both expecting.) So the first two quilts, above, were made in quick succession, with the third one a few months later.
These were all made with ready-cut squares, a wide border, some polyester batting, a backing, and a lot of double fold bias tape. But they weren’t difficult, and if you’d like to know how I made them, and how you could make one, too, read on below.
I have no experience of quilting whatsoever. And not a very sophisticated sewing machine, either. So my first task was the internet research. The best thing I found was this series of 4 You Tube videos, by Jenny of Missouri StarQuilt Company. She makes it all sound pretty easy. Thank you so much, Jenny, for your clear explanations. I didn’t follow her directions exactly, but her videos did give me very useful tips. I’ll explain where I varied from Jenny’s approach.
I did make my life a lot easier by buying ready cut 10cm (4”) squares like these, in shades of pinks and blues for these first three quilts. You can get these ready cut squares from numerous shops on e-bay or Amazon, quite inexpensively. Jenny calls them charm packs.
I used a completely random layout. I started off with a plan to mix both the ‘pink’ set and the ‘blue’ set, but somehow, my first design looked too messy.

Oh no! Horrible! So I did the first one mainly in turquoises with just a few pinks and blues, and the second one in pinks with some blues and reds.

I thought these looked altogether more tasteful than the first attempt.
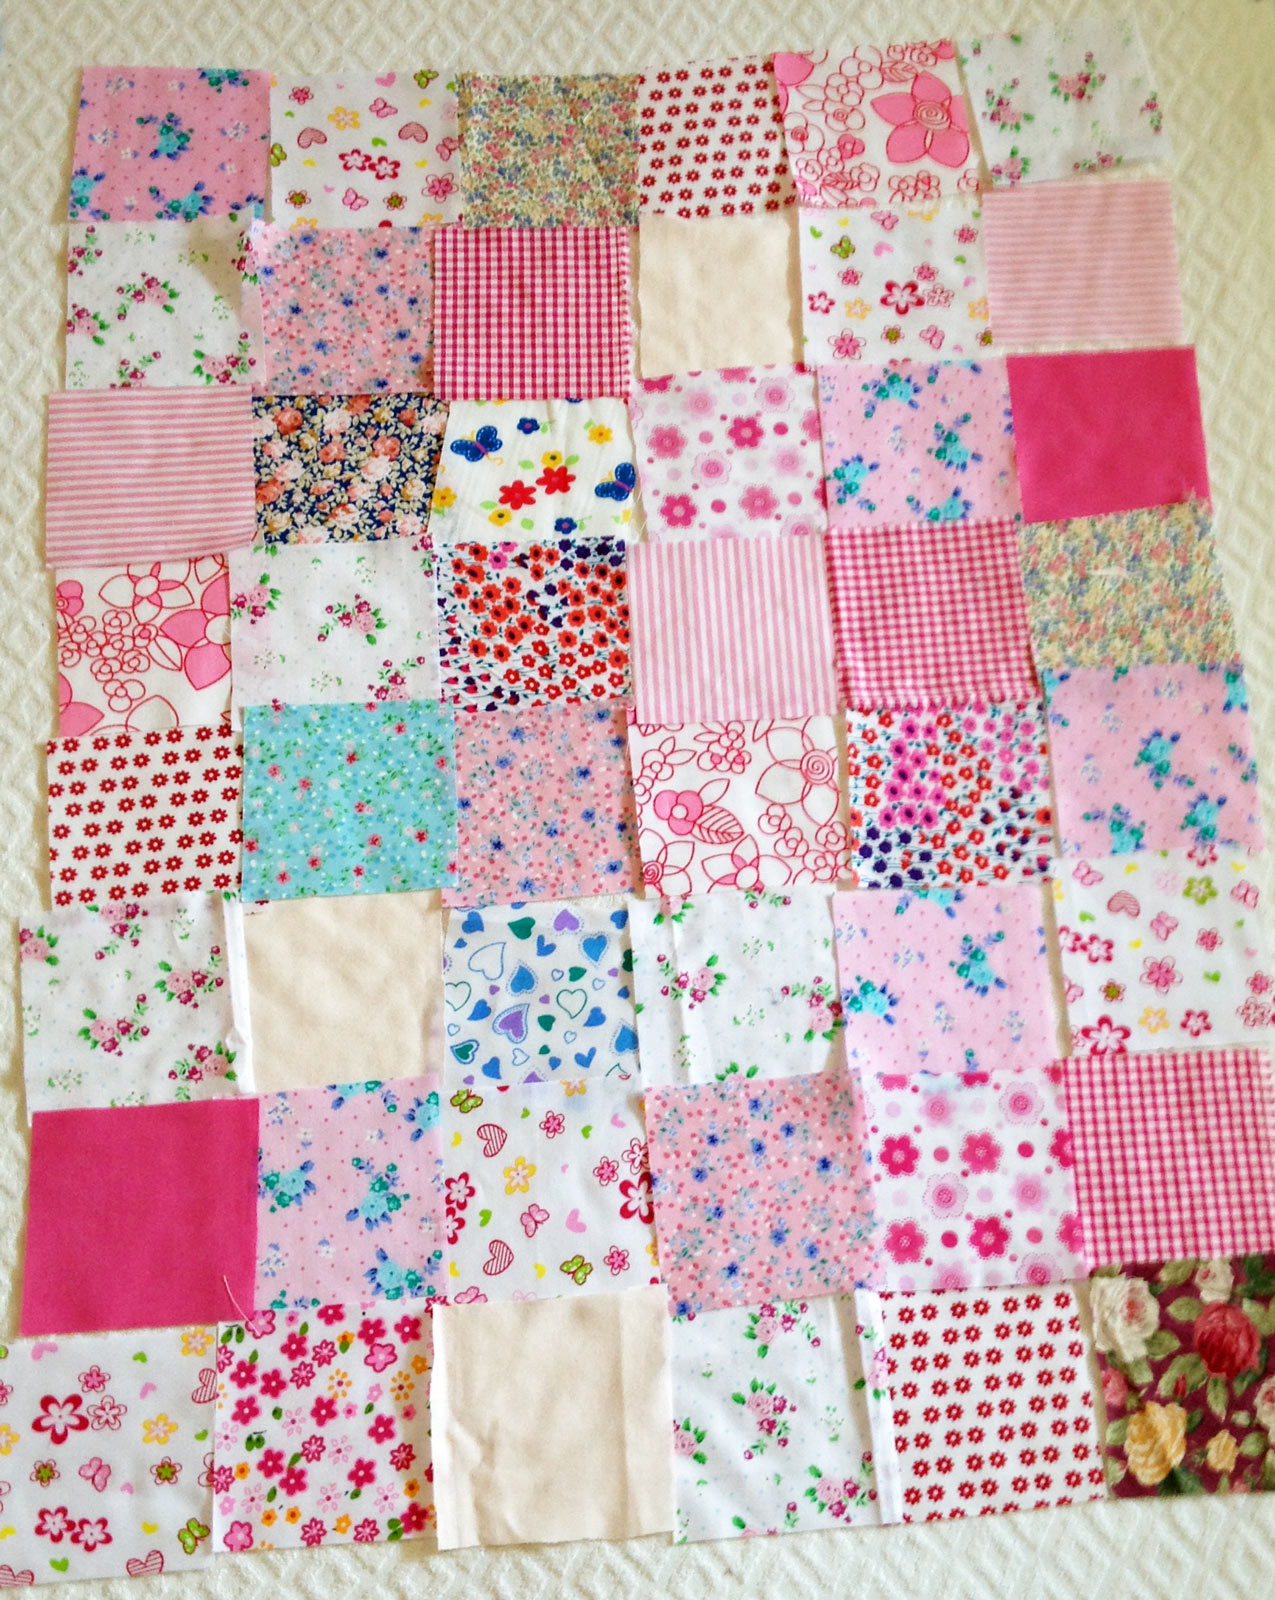
Jenny suggests laying out all your pattern of squares first, as I have done above. This is a really good idea. And even if, like me, you are going ‘random’, you will still find, when you look at the whole design, you seem to have too many dark ones in a row, or two with a similar pattern too close to each other. So a bit of fiddling around needed until you are happy with the design. The other big tip I’d add here myself, is to take lots of photos of your final layout from different angles, so you can get them back in the right place as you sew them.
The next thing she suggests is to sew one row of pairs at a time. I’d previously assumed you just make one long string of an entire single row or column, followed by the next, and then attach all these together. However, this can mean you can get wobbly lines with seams that may be hard to match together, plus an awful lot of little ends of thread (at all the corners of each square). See my diagrams below. If they aren't clear enough, look at Jenny's video.
STAGE 1 – Making the quilted pattern
Please note, this is fine for a crib quilt or small quilt that is easy to manhandle on your machine. I’m not sure it would work so well with a full-size matrimonial quilt! Here's where you start, in diagrammatic form:

You've laid out all your pieces in the design you want. Then, as Jenny describes, you lay all of the first column on the next one, right sides together. Mark with pins as you go so you know which side is the seam you are about to join.

Then, Jenny sews straight down the entire double row, pair of squares following pair of squares into the machine, without taking them out or cutting any threads.

In other words, you feed in the second pair immediately you come to the end of the first pair, so they are joined together with a tiny bit of thread connecting them – and then you have a whole string of joined pairs, like this (after pressing flat):

Again, in diagrammatic form, it looks like this:

You need to take care to keep neat, even seams. I use ¼” on this size of quilt. Then you do the next pair of columns, and so on. If you have an odd number you can add the last three columns with two seams.

You can see in the pictures that most of my photos look like I've joined rows rather than columns, but that's just the angle from which I've taken the photos. Of course it doesn't matter which you do.
Jenny suggests splitting the chain into each set of pairs at this point, and then joining the pairs But I’ve actually found it much easier to pin all the rows together without cutting the pairs apart. You can check as you go that all the seams are going to match.
I then attach joined columns 1&2 to joined columns 3&4 in the same way, and so on till the whole quilt is attached (or half, if it is going to become large and unwieldy).

The other thing I did slightly differently from the You Tube method was pressing the seams. Jenny suggests you press the seams between alternate rows opposite ways (i.e. both bits of the seam go left or right alternately) so the two seams can butt together and you don’t get too much bulk. In practice I’ve found you get exactly the same thicknesses of seams if you open all seams away from the seam as I’m used to. I just find that easier.

That's all the hard work done now. On my next blog I'll show how the quilt gets finished.
No comments:
Post a Comment