
To find out how I made my Wonder Woman outfit, read on!

Note the tutu! But you could do so much better with more time. This is just an elasticated top piece (which Jane found too 'itchy' to have next to her skin - so she wanted a T shirt underneath anyway. Then it's got ribbons threaded through to make shoulder ties, but they kept coming out. If I'd had the time, I would just have bought or made a red vest / tank top, and attached the Wonder Woman logo. There are loads of logos free on the web, but this is the one I would use. I might then have made my skirt a full circle skirt of the fabric I used for the over-skirt, or a tutu. There are many, many tutorials on-line for making a tutu. You either use a crochet head band and do three layers of knotted tulle using all the levels of holes in the crochet, or just knot the tulle three layers together over one inch elastic. It really isn't difficult but it is time-consuming, and without the ready -made tutu, I think I would just have gone for a nice spinny circular skirt.
As it was, I made an overskirt for the tutu, out of 1/2 m cotton fabric, blue with stars on, from Fabricland. I cut it to be a semi-circle using the full depth of the fabric, folded. (You'll see how I measured that later, when I show the cape.) So that was 50 cm or about 19.5 inches. I turned up a very narrow hem (about 0.3 cm twice, or 1/8" twice, but how exact you are here doesn't matter.) I also hemmed the open edges which would form the front.

Then I re-folded it in half, and measured from the finished hem up towards the corner. I wanted the finished over skirt to be 33cm or 13". I cut another line parallel to the hem.
I then made a waistband / belt our of a gold plastic costume fabric, first attaching on one side to the skirt, but leaving about 15 cm of 6" extra at each end. I made those extra strips into a belt to go round the front. However, ass I sewed them, I left a bit open each end, and then threaded some wide elastic through, sewing it to the gold at each end of where the skirt stopped. (So the skirt was elasticated mainly round the back and sides.) In the pictures below, the elastic stops before the front part of the belt, where the double row of stitching is. This meant that the tutu could poke out through the front. Without a tutu, I would have made a full circle skirt with the whole of the waistband elasticated. I finished the ends by turning half of the excess at each end over the two halves of a nurse's buckle, so she could easily put it on and take it off herself. She liked this feature.


The gold fabric was not going to be easy stuff to sew, I knew that when I bought it. For some tips on sewing costume fabrics, see this post.

Next, I made a cloak. This fabric was shiny red metallic material, which was also not easy stuff to sew. This was just over 1/2 m, which I folded parallel to the selvedge. I then measured from the corner and marked a quarter circle, which turned out to be 53.5 cm or 21" in radius. You may just be able to make out the marks (arrowed) below.


I used the left over fabric to make a long thin strip about 4cm wide (1.5") by about 120 cm long, or nearly 50". This was a bit arbitrary. I measured round the neckline, and added enough for some strings to fasten!. I attached one side of the central portion to the neckline, right sides together, and then folded it over. The ends of the strings were also folded in on themselves (so the raw edges were enclosed) and I sewed using a zigzag stitch right from one end to the other. I also hemmed all the edges. Again, not nice stuff to sew, but for tips on sewing costume fabrics lie these, see this post. And for more info about how I made the cloak, see my witch costume post.


(Ada's baby sister also took a liking to the cloak, which Jane generously allowed her to try on.)

I didn't want to make full boots - the children don't wear shoes inside the house - so I though that leg protectors that could be worn with or without shoes would be a better bet. I had measured round Jane's ankles - 18cm - and knee to ankle (21cm) so I drew a template for the leg protectors so they would have those finished sizes. Actually I think I made them a little too narrow, in that she wanted to keep her party jeans on underneath to start with. I hadn't allowed for that! Then I drew a further template for the arrow shape flashes, which were cut out of a white plastic fabric similar to the gold. The white plastic couldn't be sewn by machine on the outside - to find out how to sew difficult fabrics like this see this post. After hemming the bottom (small hem) and the sides (2.5cm / 1" hem), I attched two pieces of Velcro to each side.

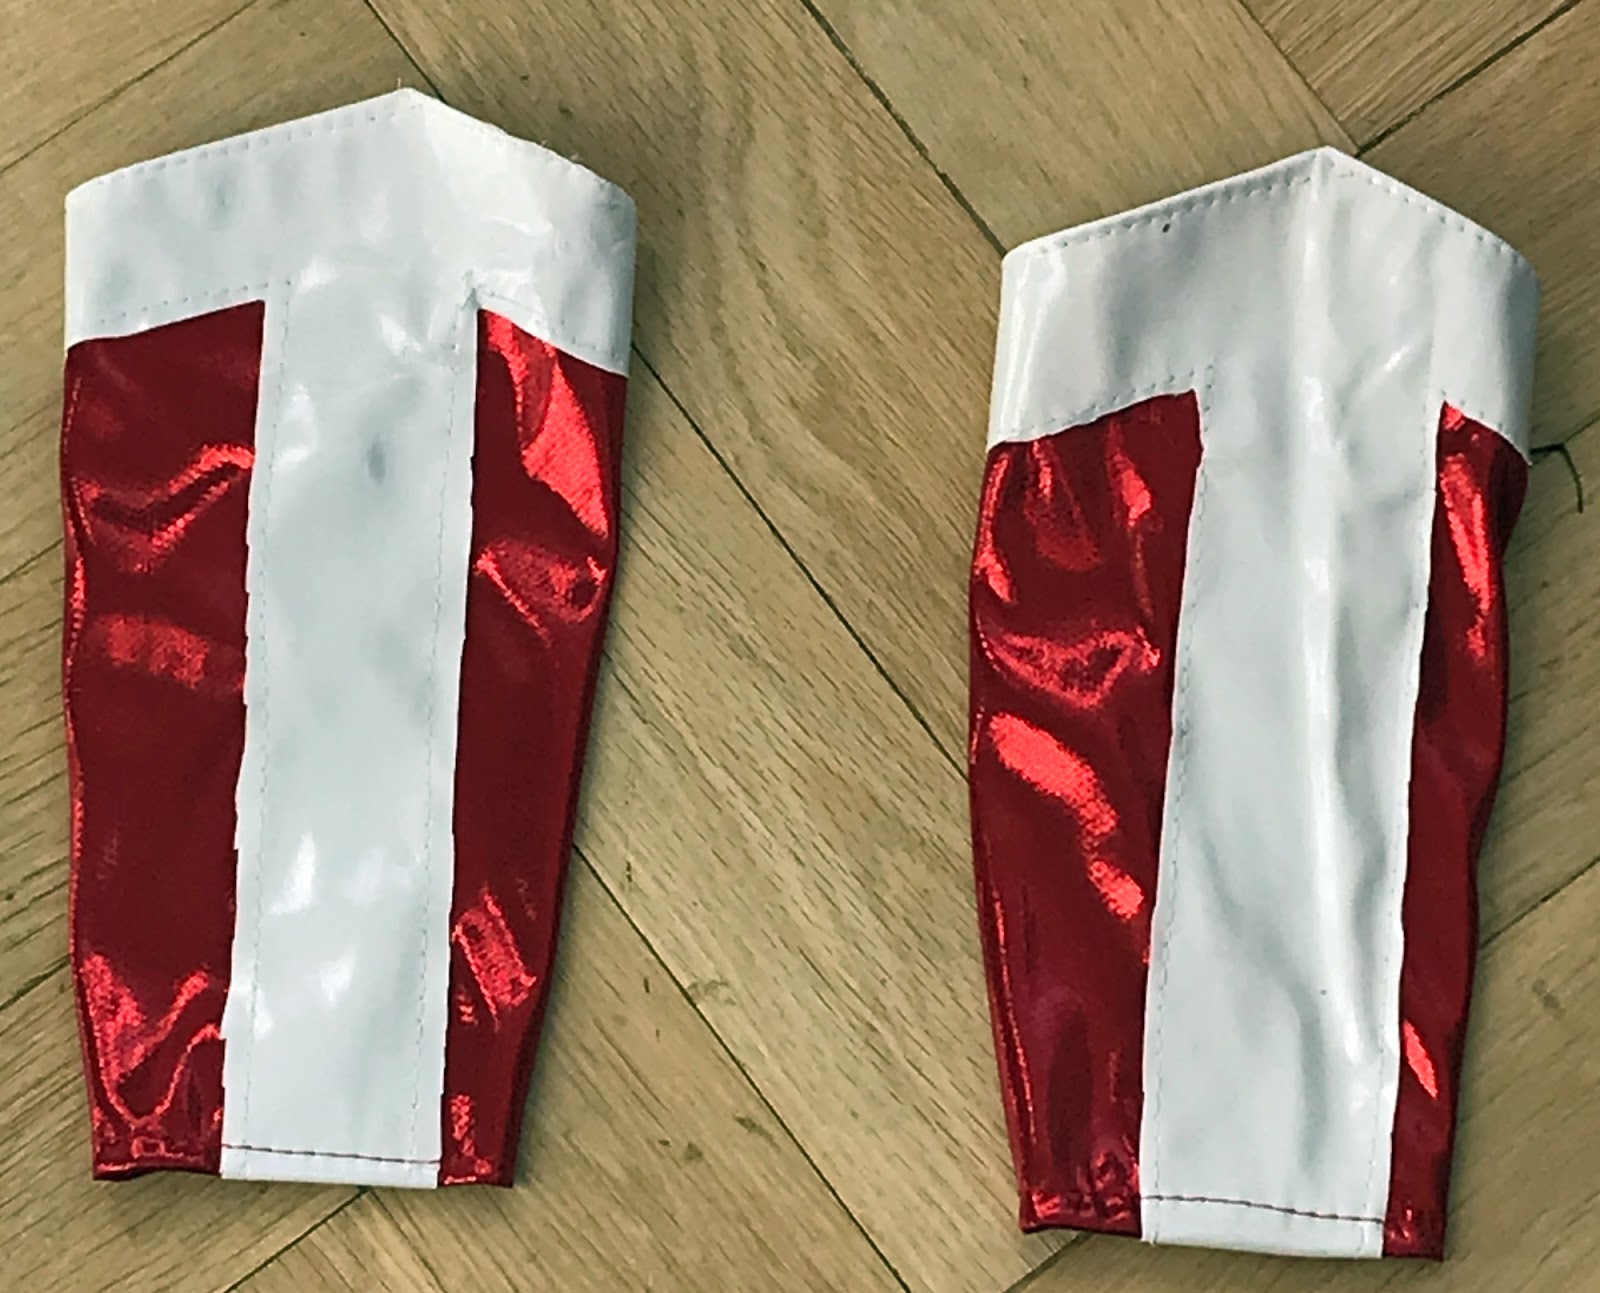

Like the leg protectors, they fastened with Velcro.

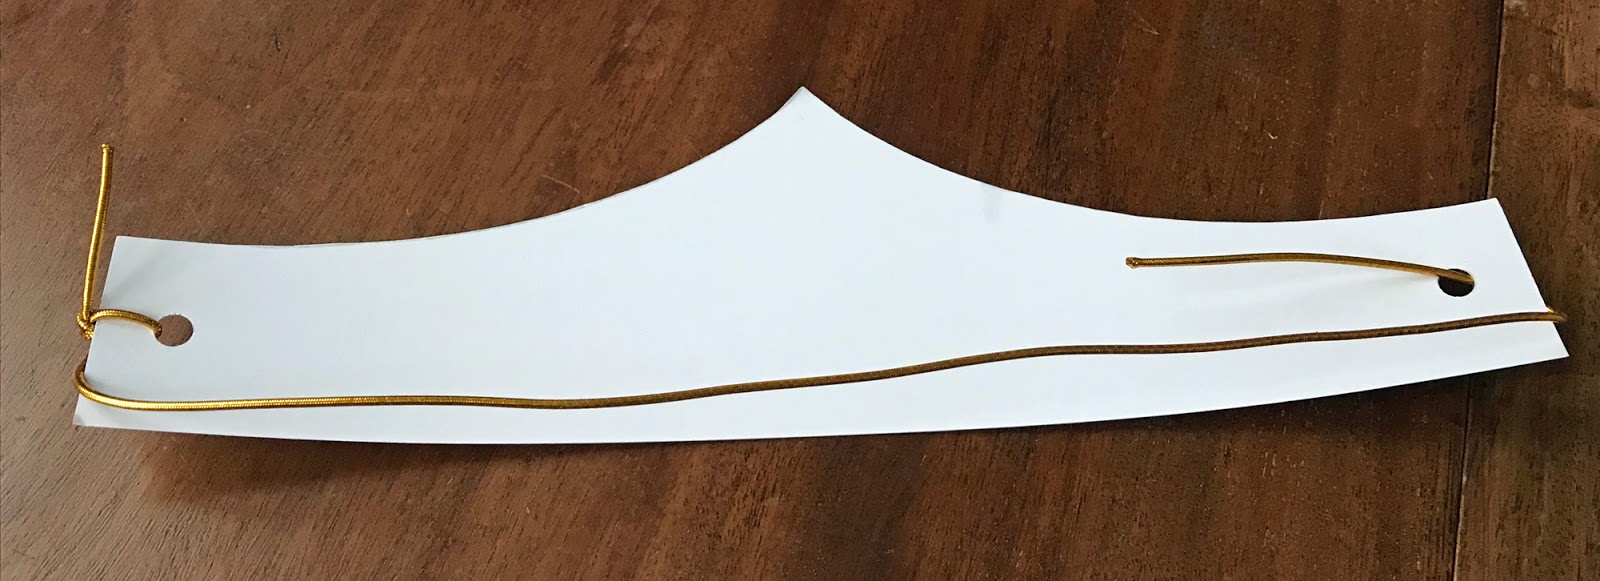
Finally, the headpiece. I'd found a template on line for a suitable headpiece, which I cut out of gold card. I cut out a star from the red fabric and glued it on (using photgraph spray on glue). I punched a hole in each end, and knotted some gold elastic cord through. You can see I've only tied one end here, pending the fitting!

Well, I think she was pleased with her birthday presnt - she wore it for the rest of the day, and got into the spirit of the poses!


Footnote: There is more information on how to make a costume cloak on my post about a witch costume.
No comments:
Post a Comment