
It's not difficult to make small clothes from larger ones. In fact, it's very easy from a large man's T shirt. Making them from a garment that is already not very large is more or a challenge, but it can be done, and you can find out how below.
However, there are others , if that doesn't suit you, including those from Life Sew Savory that I have used many times. Find different free children's tank top patterns in this post.
Once you have a pattern, the first stage is to dismantle the original tank top. I did this without taking a photo first, so you just have to imagine what it looked like. I took off all the bindings, as I wanted to re-use them, and then unpicked the back and front. If you had a very large garment, you might get away with just cutting off all the seams rather than unpicking, but I wanted to be able to use as much as I could, even into the original seam allowances,
The main challenge is that the neckline on a small garment is narrower than on a larger one, and so you may need to be cutting out the shoulders of the new garment where there is't any fabric. I've found the best way to deal with this is to have a join running across the straps. The position (height-wise) of this will be dependent on the amount of fabric you have, and the amount of any design on the original that you want to retain, You may just be able to add separate straps, or you may need to form a yoke at the top. Or you may need to add an asymmetrical panel, as I did in this T shirt that I wrote about two years ago.
In the case of this tank top, I went somewhere between the separate straps and full yoke. I wanted to keep as much as possible of the design on the original T shirt, so you can see below where I had to make my join.
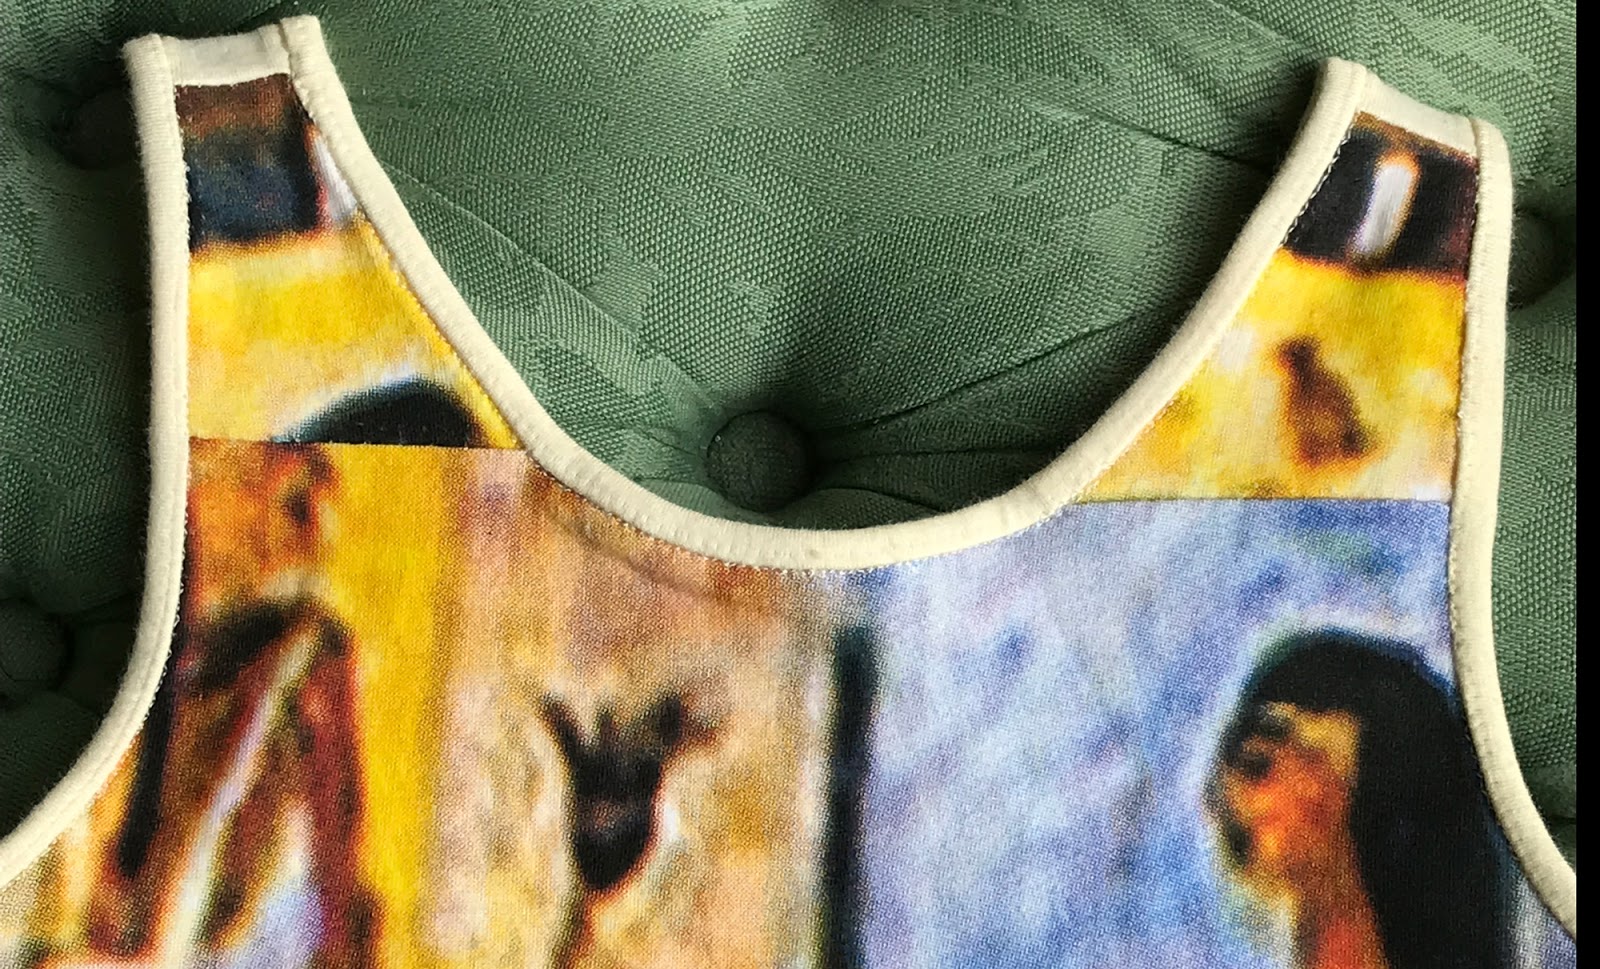
If I'd gone much lower, I would have lost the heads on the figures.
The Pattern I used was the Lemon Grass Tank pattern, a free PDF in sizes 4-11 from Paisley Roots, which I found here on the Crazy Little Projects blog. I cut a tracing between the size 4 and size 5, which seems to have worked for Rose, who is 4 and a half.
I placed it on the existing front panel, folded in half, to see just how much I could get without a join. First on the front.

You can see above that I have folded the pattern down at the straps. Unfolded, I would need to be cutting into nothing (round the neckline). So this was going to be the most I could cut from the main bodice piece. I knew that I then needed two pieces the shape of the folded down piece (plus a seam allowance) to attach to each side at the top. I thought the pieces I was cutting off the side might give me enough, but in fact, I just managed to get the two pieces out of the pieces I had chopped off, so I didn't need the side strips.
Here's the back cut out (on the fold, of course) and the extra pieces laid in position ready to re-attach.

And here's the two front pieces attached. Of course you can see the joins, but I don't think it looks too bad!

I tried to make the seams as neat as possible. Here's the inside:

And the outside:


I first attached them to the outside, then turned them and sewed 'in the ditch' on the right side, catching in the binding edge. Happy with the end result. A new lease of life for a D&G tank top!
No comments:
Post a Comment