I'd had some fabric in my stash for some time, unpicked from a outgrown circular skirt previously worn briefly by a teenager. I'd always thought of it as an abstract or mad gonk pattern, but one of my granddaughters was taken by it and though it was llamas, and she asked for a 'spinny' dress. Here's the result.

Read on for how I made this.
Jane loves to spin until she gets dizzy!


The dress is a woven skirt, and a knit top. In fact, when she first decided she'd like something from this fabric, I sent pictures posing it with some purple elastic, to make a circular skirt, or with an adult knit top, to make a dress. And the dress was chosen.


The first stage was to make the circular skirt. I used the free Cucicucicoo pattern. (There is also a tutorial on making a circle skirt with two semi-circles of fabric from Cucicucicoo, which is the way I made mine. This is also very useful for a directional fabric.
What I had in the way of fabric was already two more or less semi-circular pieces from a larger size skirt. I cut two new smaller semi-circles, adding a small seam allowance at the sides. (If you cut a completely circular skirt, there are no joins, so you don't need the seam allowance. But even if I'm using new fabric, I often have a directional fabric, which means you need at minimum to have two pieces to avoid an upside down pattern on one side, and even better, to have 4 pieces.) The Cucicucicoo tutorials cover directional fabrics, so I'm not going to repeat them here.

To make the top, I used this pattern in a size 7.

Why this pattern, when there are so many bodice patterns available? It was simply that I had had it out for another project, so it was to hand! But yes, you could use any bodice pattern. I chose one with sleeves because covered up shoulders are generally preferred in our family.
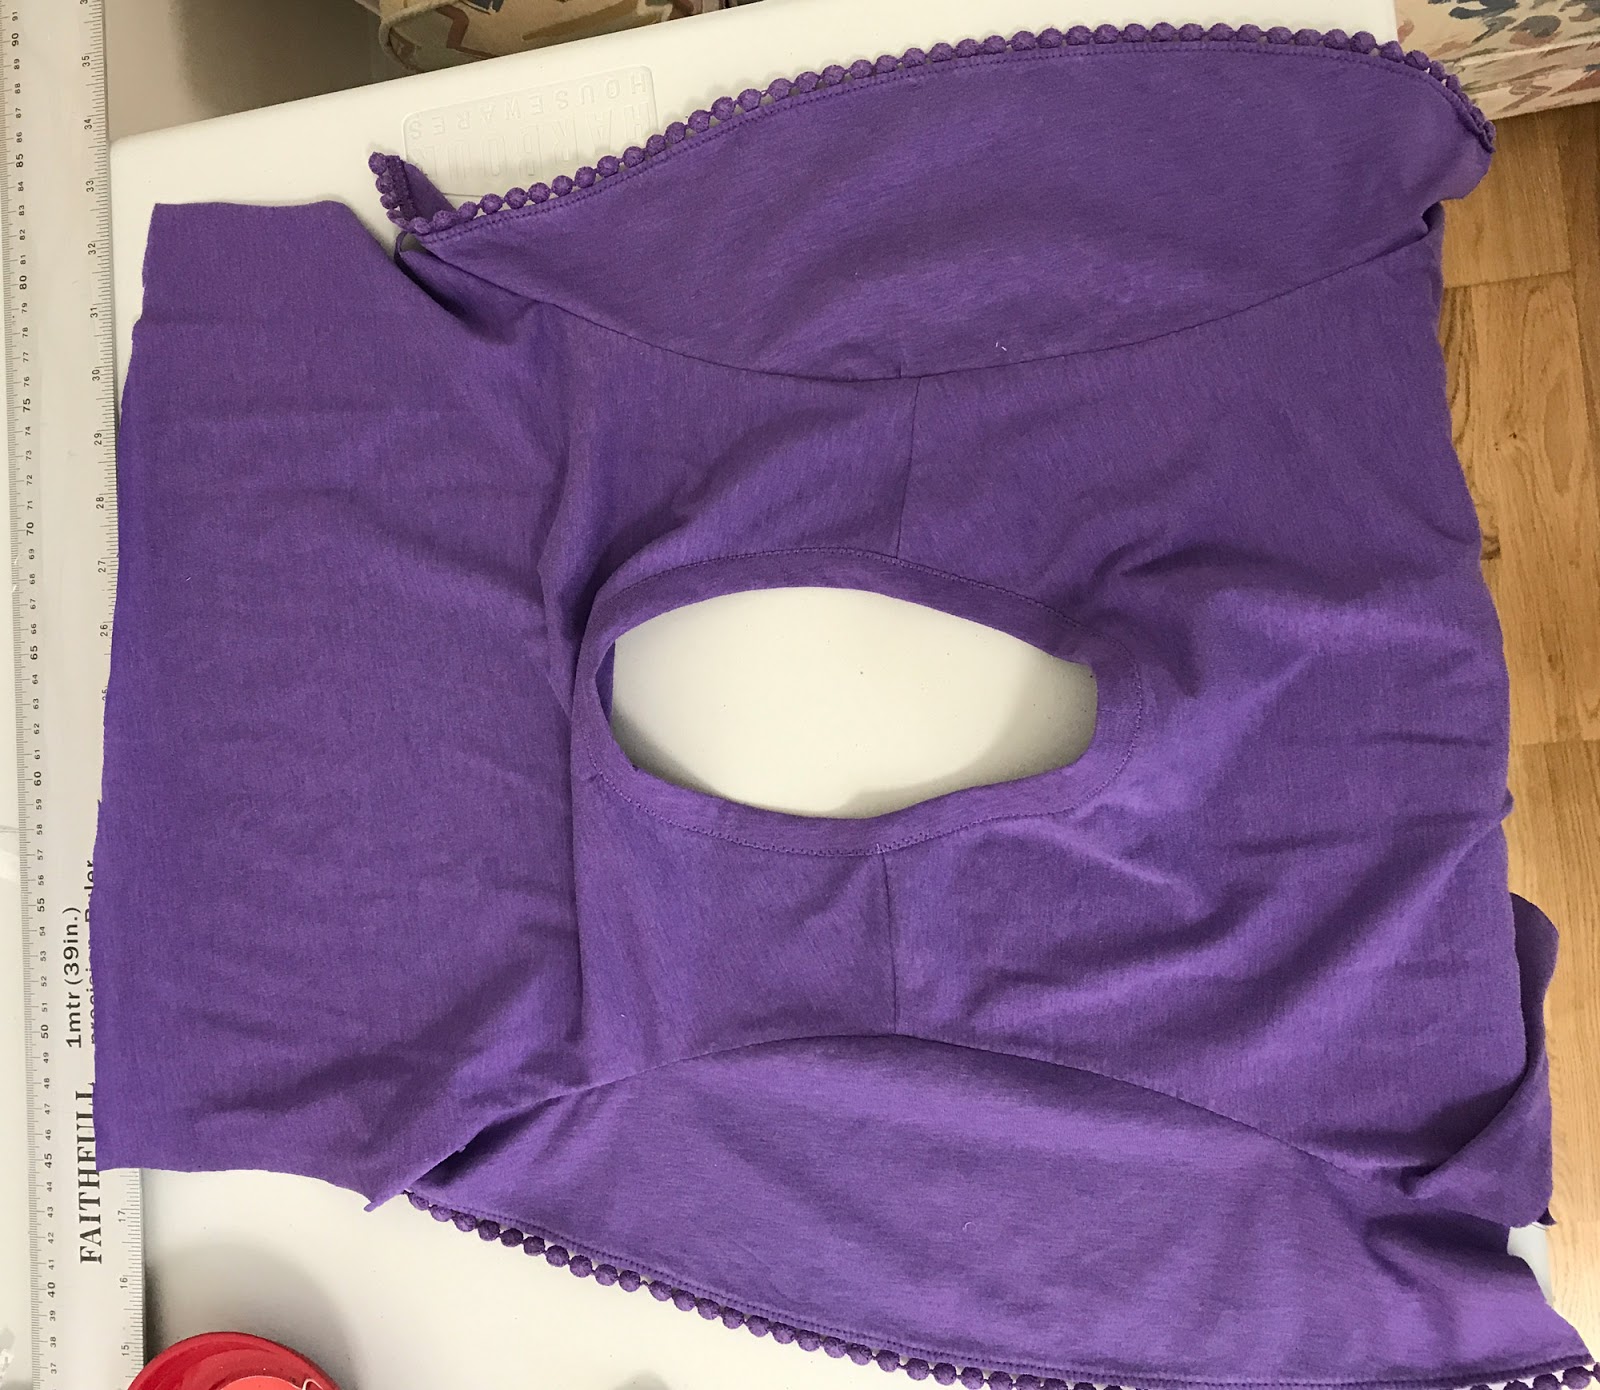
The adult knit top was obviously too big, but I liked the flutter sleeves, with the pom-pom trim. So I unpicked the neck binding to re-use, and the sleeves, setting these aside, and I also unpicked the shoulder seams. I didn't unpick the side seams, as they would be going anyway.
Then I folded what was left of the top along its centre back and centre front, laid the front and back pattern pieces on it, and cut out a new bodice back and bodice front.. (Sorry, missing photos of these steps.)
I joined the shoulders, and measured the new neckline. I cut the neckband to about 85% of this length, joined the two long ends, and attached it to the neckline. (Seen from the inside in this picture. It's re-folded on the centre fronts, as I'm about to tackle the sleeves.)

Now, the flutter sleeves I had were a completely different shape from the new armholes. But fortunately big enough that I would had some spare to play with. Here, I'm measuring up the total length, by comparing them.

I still wanted a flutter style sleeve, but the armscye would have to match that of the bodice. So I traced the top of the sleeve pattern from the Simplicity pattern, and use the Slash and Spread method to make it into a flutter sleeve. (You can read more about how to do the Slash and Spread method in this post here.) As you can see, I ended up with a shorter sleeve because I wanted to keep the bobble edge.

Here are the sleeves attached to the armholes.
The final step on the bodice was just to join the side seams from the bottom hem to the end of the sleeve.
You can find out how to attach a woven skirt to a knit bodice in this post.
As intended, this produced a comfortably loose-fit style (with some room for growth, too!) Just how Jane likes it (and Jane's Mum).

(Do you like younger sister Ada's little dress? I made that, too. Read about that, here.)

But she's happy, because it spins.


No comments:
Post a Comment