I've already used (and reviewed) the free Movie Night Pyjamas pattern from Sew a Little Seam. So I shan't write a detailed description on the latest set, you can read my full review here. So this post will mainly just be some further pictures of making a set of these knit pyjamas, this time, size 8 for Rose's 6th birthday.
Doing my best to pattern match this knit print before cutting out on the fold.
Using a triple (stretch) stitch for the main seams; I started sewing 5/8" from the start of the seam, then turned it round, as in this picture below, to finish the seam to the end, just overlapping a bit. This helps avoid fabric being sucked down into the works.
Finishing the seam edges using an overcast foot on my sewing machine, with a simple zigzag.
Placing shoulder seams together to mark centre back and centre front (note pin on left hand fold - there is also one, less visible, on the right hand fold.)
Matching the centre front and centre back pins (see previous picture) to find the true quarter points. ( Note these are not the shoulder seams, which are shown just south of the quarter points in the picture below.)
Pinning the folded neckband to the neckline, matching the quarter points, and stretching the band a little to pin in between the quarter points as well.
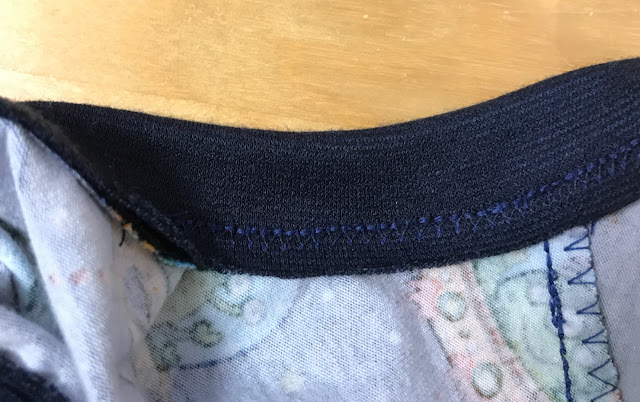
Using a double needle and 'stitching in the ditch', so only the one line of the double stitches shows below the band (the band is the darker fabric to the right on this picture).
Only the one line of double stitching shows. (Sorry, photographed this before pressing - it did lie flatter when pressed!)
And here's what it looks like on the inside.
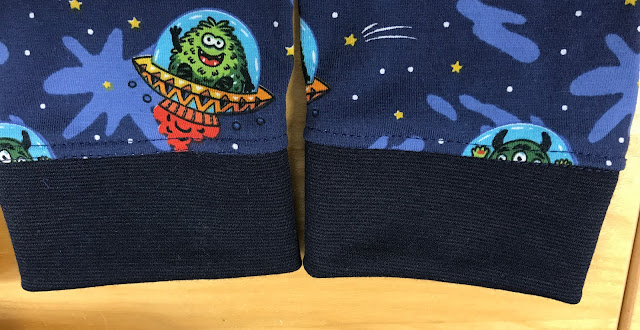
I sewed on the cuffs using a simple zigzag rather than the triple stitch.
Then gave these the same 'stitch in the ditch' with the double needle treatment.
To turn up the hem of the top, I measured on the inside, but put the pins through from the outside, like this:
So the pins are on the outside, allowing me to use a double needle for the hem, and to be able to tell pretty much where the edge of the hem came to.
I don't think this is exactly what the inside is supposed to look like! I think it should be a more even zigzag on the back. However, having played with the top and bottom tension on several bits of scrap fabric, I couldn't get it to do that. I will have to have a more concerted play with it when I'm not working to deadlines. Since there is no tunneling on the right side, and it seems stable, it will have to do. I don't think my grand-daughter will know the difference!
Before I threaded the elastic through the waistband, I sewed a little tag to the back so she'd be able to tell the back from the front.

Then I threaded the elastic through using a safety pin. I marked a little pencil mark on the outside of the elastic so I could tell I hadn't twisted it while threading.
I had to unpick a large part of the waistband to get it out. For my second attempt, I had to put the pin through very carefully. It would have been better to use a bodkin, had I had one wide enough. Anyway, the remainder of the elastic went straight in the bin.
Finished top
Finished pants, front view
Finished pants, front view, showing tag in back


No comments:
Post a Comment