Some skirts are so easy to make, I'm amazed when I see paid-for "patterns" for very basic skirts. In fairness, there are also a lot of people who provide a pattern and tutorial free, as a come-on for their paid-for patterns. I don't have anything to sell, so I'm just going to tell you how to make easy skirts for girls, with no charge! And I'll also suggest a few embellishments to make them fancier, if the basics are just too basic for you. Here are just a few of the many, many skirts that I've made for my grandchildren over the past few years,
This will be a short series of posts on how to make simple skirts, and for this the first, on gathered skirts, read on. (Links to the others at the end.)
I largely define skirts as one of three types. Of course, there are many variations, but most of the skirts I make are either gathered with elastic, or are circular, or otherwise flared skirts. The main difference is that a gathered skirt usually has as much fabric at the top as at the bottom, so it is a bit more bulky at the waistline than something with a flared / circular / A-line style. (We'll come on to that terminology in the next post) However, a gathered skirt doesn't take very much material at all, so it is both economical to make, as well as very easy.
So in this post, I'm going to start with gathered skirts. If you'd prefer to dive straight in to circular or flared skirts, see my next posts.
Here's a simple gathered skirt. This is made with not much more than a scrap of knit fabric leftover from another project. But you can also use woven fabrics, in fact, by and large I prefer to use woven fabric for these, as I like the crisp finish you can get..
Making a pattern / Cutting the fabric
You just need just two measurements for the child:
- The child's waist measurement
- The finished length of the skirt.
The latter is a matter of taste. I usually measure from the waist to the back of the knee, but some people like little girls in shorter skirts than this - or longer. From those two measurements, yoiu are going to cut a rectangle of fabric, and I'll explain how.
In case you don't have a child to hand, these are approximate measurements according to the child's age.
TABLE 1:
|
Child’s age
|
Finished
Length (need to add a bit for hem and top)
|
Waist
Measurement
|
Width of Fabric needed (normal minimum)
|
|
6-12 months
|
7" (17.75cm)
|
16” (40.5cm)
|
24" (61cm)
|
|
12-18 months
|
8" (20.25cm)
|
16.5” (42cm)
|
24.75" (62.75cm)
|
|
18-24 months
|
9" (22.75cm)
|
17” (43.25cm)
|
25.5" (64.75cm)
|
|
2 years
|
10" (25.5cm)
|
18” (45.75cm)
|
27" (68.5cm)
|
|
3 years
|
11" (28cm)
|
19” (48.25cm)
|
28.5" (72.25cm)
|
|
4 years
|
12" (30.5cm)
|
20" (50.75cm)
|
30" (76.25cm)
|
|
5 years
|
13" (33cm)
|
21" (53.25cm)
|
31.5" (80cm)
|
|
6 years
|
14" (35.5cm)
|
22" (55.75cm)
|
33" (83.75cm)
|
|
7 years
|
15.5" (39.25)
|
22.5" (57.25cm)
|
33.75" (85.75cm)
|
|
8 years
|
16.5" (42cm)
|
23" (58.5cm)
|
34.5" (87.75cm)
|
|
9 years
|
17.5" (44.5cm)
|
24" (61cm)
|
36" (91.5cm)
|
|
10 years
|
18.5" (47cm)
|
25" (63.5cm)
|
37.5" (95.25cm)
|
|
11 years
|
19.5" (49.5cm)
|
26" (66cm)
|
39" (99cm)
|
|
12 years
|
20.5" (52cm)
|
27" (68.5cm)
|
40.5" (102.75cm)
|
You'll notice that I've added in here an additional column called Width of Fabric. A useful rule of thumb is that to make nice gathers, you need about 1.5 times the waist measurement in the width, so I've done that calculation for you. That gives you the long measurement for your rectangle. You'll have to do one more calculation yourself, for the short measurement, i.e. the length you need to cut, but that's easy - it depends on what you want.
You have various options as to how you complete the skirt, and I'll explain each of these in a moment. You can make a very small hem, or a deeper hem, or have no hem at all. You can make a separate waistband, or make a casing for elastic, using either 1/2" or 3/4" elastic. Depending on what option you decide to use, here are the amounts (in the last column) to add to your finished skirt length to get the shorter measurement of your rectangle.
TABLE 2:
|
No hem (e.g. bias binding)
|
Small hem
|
Deeper hem (can be more)
|
Separate waistband
|
Fold down waistband ½” elastic (1.2cm)
|
Fold down waistband 3/4” elastic (2cm)
|
Total additional length (min)
|
|
0
|
|
|
3/8” (1cm)
|
|
|
3/8” (1cm)
|
|
0
|
|
|
|
1 5/8” (4.25 cm)
|
|
1 5/8” (4.25 cm)
|
|
0
|
|
|
|
|
2 1/8”” (5.4cm)
|
2 1/8”” (5.4cm)
|
|
|
½” (6mm)
|
|
3/8” (1cm)
|
|
|
7/8” (2.25cm)
|
|
|
½” (6mm)
|
|
|
1 5/8” (4.25 cm)
|
|
2 1/8”” (5.4cm)
|
|
|
½” (6mm)
|
|
|
|
2 1/8”” (5.4cm)
|
2 5/8” (6.7cm)
|
|
|
|
1 ½”
|
3/8” (1cm)
|
|
|
1 7/8” (4.75cm)
|
|
|
|
1 ½”
|
|
1 5/8” (4.25 cm)
|
|
3 1/8””(8cm)
|
|
|
|
1 ½”
|
|
|
2 1/8”” (5.4cm)
|
3 5/8” (9.25cm)
|
So your rectangle will have the long measurement as shown in the Width of Fabric column. And its short measurement will be the finished length plus the amount from the last column
How do you decide how much to add for the hem and top? First, the hem. In fact, you can add nothing at all at the bottom, if you use double fold bias binding to trim it. Ignoring the fact that this skirt also has a frill, its bottom edge is just trimmed with double fold bias binding, which adds nothing and takes away nothing from the overall length.
Or you could just make a narrow hem, turning, say 1/4" and 1/4" - say 0.6cm twice. This is what this skirt has.
It's usual with knit fabrics to have quite a small hem, However, I was brought up in a time when our clothes were expected to last for a few months or years, so we would add a lot more hem with the idea that it could be let down as we grew. We would perhaps fold 1/2" and then another 1" or even more. So for a deeper hem, you'll need to add somewhere between half an inch to 1 1/2" plus for the bottom hem. This one has almost 2", with 1/2" and 1 1/4" turned up, and the braid sewn just above the hem (in case I want to lengthen it later).

You also need some extra at the top, and how much extra will depend on how you finish the top. One option is to have a separate waistband - then you'll only need a bit of seam allowance at the top to attach it. But you can also make a casing for elastic - which I often prefer. All of these below, apart from the top left, have a separate waistband attached. The top left has a 3/4" elastic inserted into a casing. (The pink one I showed you earlier has half inch elastic.)
For toddlers and very young girls, I usually use elastic that is no more than 1/2" wide, with 3/4" - 1" being used for older girls. Your casing will need to be twice the width of the elastic, plus a folded edge, plus the stitching, and that's what I've allowed for in the second table above.
The safest thing is to add more to the length than you think you need. You can always cut a bit off when you come to make the final hem - it's harder to add some on. (Though not fatal - you can always add a frill or some trim.)
To cut out the rectangle, you want the length of the skirt (that's the shorter measurement) to run parallel to the selvedge (# see below), so that your long rectangle is going to run across the fabric. You can use one selvedge as one edge. (In fact, unless cutting a tiny size, I will often use the full width of a woven fabric, so I can use both selvedges. If you go back to Table 1 above, you'll see that the 'Width of Fabric needed' measurements for age 6 and upwards are 33" (83.75cm) and wider, Given that most woven fabrics are only about 45" wide or 110cm, you are only going have a small strip left if you go with the 1.5 times waist measurement - might as well not cut it off! It's often as easy to use the whole lot. Equally, I wouldn't fret too much if I had a piece of fabric I wanted to use which was just a bit narrower than the 1.5 times. It's only a rule of thumb.)
So mark your rectangle on the fabric and cut it out, either with sharp fabric scissors, or a circlular cutter.
Sewing the skirt
Right - now you have cut out your rectangle of fabric. Let's assume the dark blue rectangle below is the one you have cut - showing the right side of the fabric. (Many fabrics have an obvious right and wrong side.) The first thing to do is to fold it in half with the right sides together, and make a seam along the open edges (see the light blue picture). There are various ways to finish (tidy up) this seam, but if you've used both selvedges, you won't need to. Now press the seam.
You will now have a circle of fabric.
We will start with the method of making a hem at the bottom. Fold up and press a small amount to the inside, then fold up and press again, The amount you turn up will depend on how much you've added to your length measurement.You might just turn up 1/4" and 1/4", or 1/2" and 1".Then you need to seam all the way round the hem. You can do this with a straight stitch on your sewing machine, or a zigzag if you want it fancy, or you can hand-hem (as I was always taught to). Give it a good press with the iron again. If you want to make a bias binding hem, you'll need to see my next post.
Now to make the waistband. I'm starting here with the 'elastic in a casing' , as I find this the easiest. Fold the top down twice, so the outer fold is a bit wider than your elastic. Remember you'll lose a little bit of the casing for the seam. The casing you make to thread the elastic through needs to be a little wider than the elastic is, after it is sewn.
For example, If I was using 3/4" width elastic, I would fold down about 1/2" and 1 inch, and sew about 1/8" from the bottom folded edge. That would make the casing channel about 7/8". i.e. wide enough to easily fit the 3/4" elastic.
You need some elastic just shorter than the child's waist measurement (because, of course, it will stretch). Let's say you were making a skirt for an 8-year-old with a 23" waist (that's c. 58.5cm). You want to cut a piece of elastic about 22" long. (I do sometimes use a bit longer piece and overlap it more, so I could let it out later, allowing for growth.)
To insert the elastic, you need to leave a little gap of about 2" or 5cm in that seam at the bottom edge of the casing Fasten a safety pin to one end of the elastic, and start threading it through the casing.
I usually attach a safety pin to the other end too, because you don't want it all to pull through. Gather up the waistband as you go. Once you've got the first safety pin all the way round, bring it out through the gap and attach it to the other end of elastic with the pin.
Check the elastic hasn't got twisted - if it has, work your way round straightening it out.
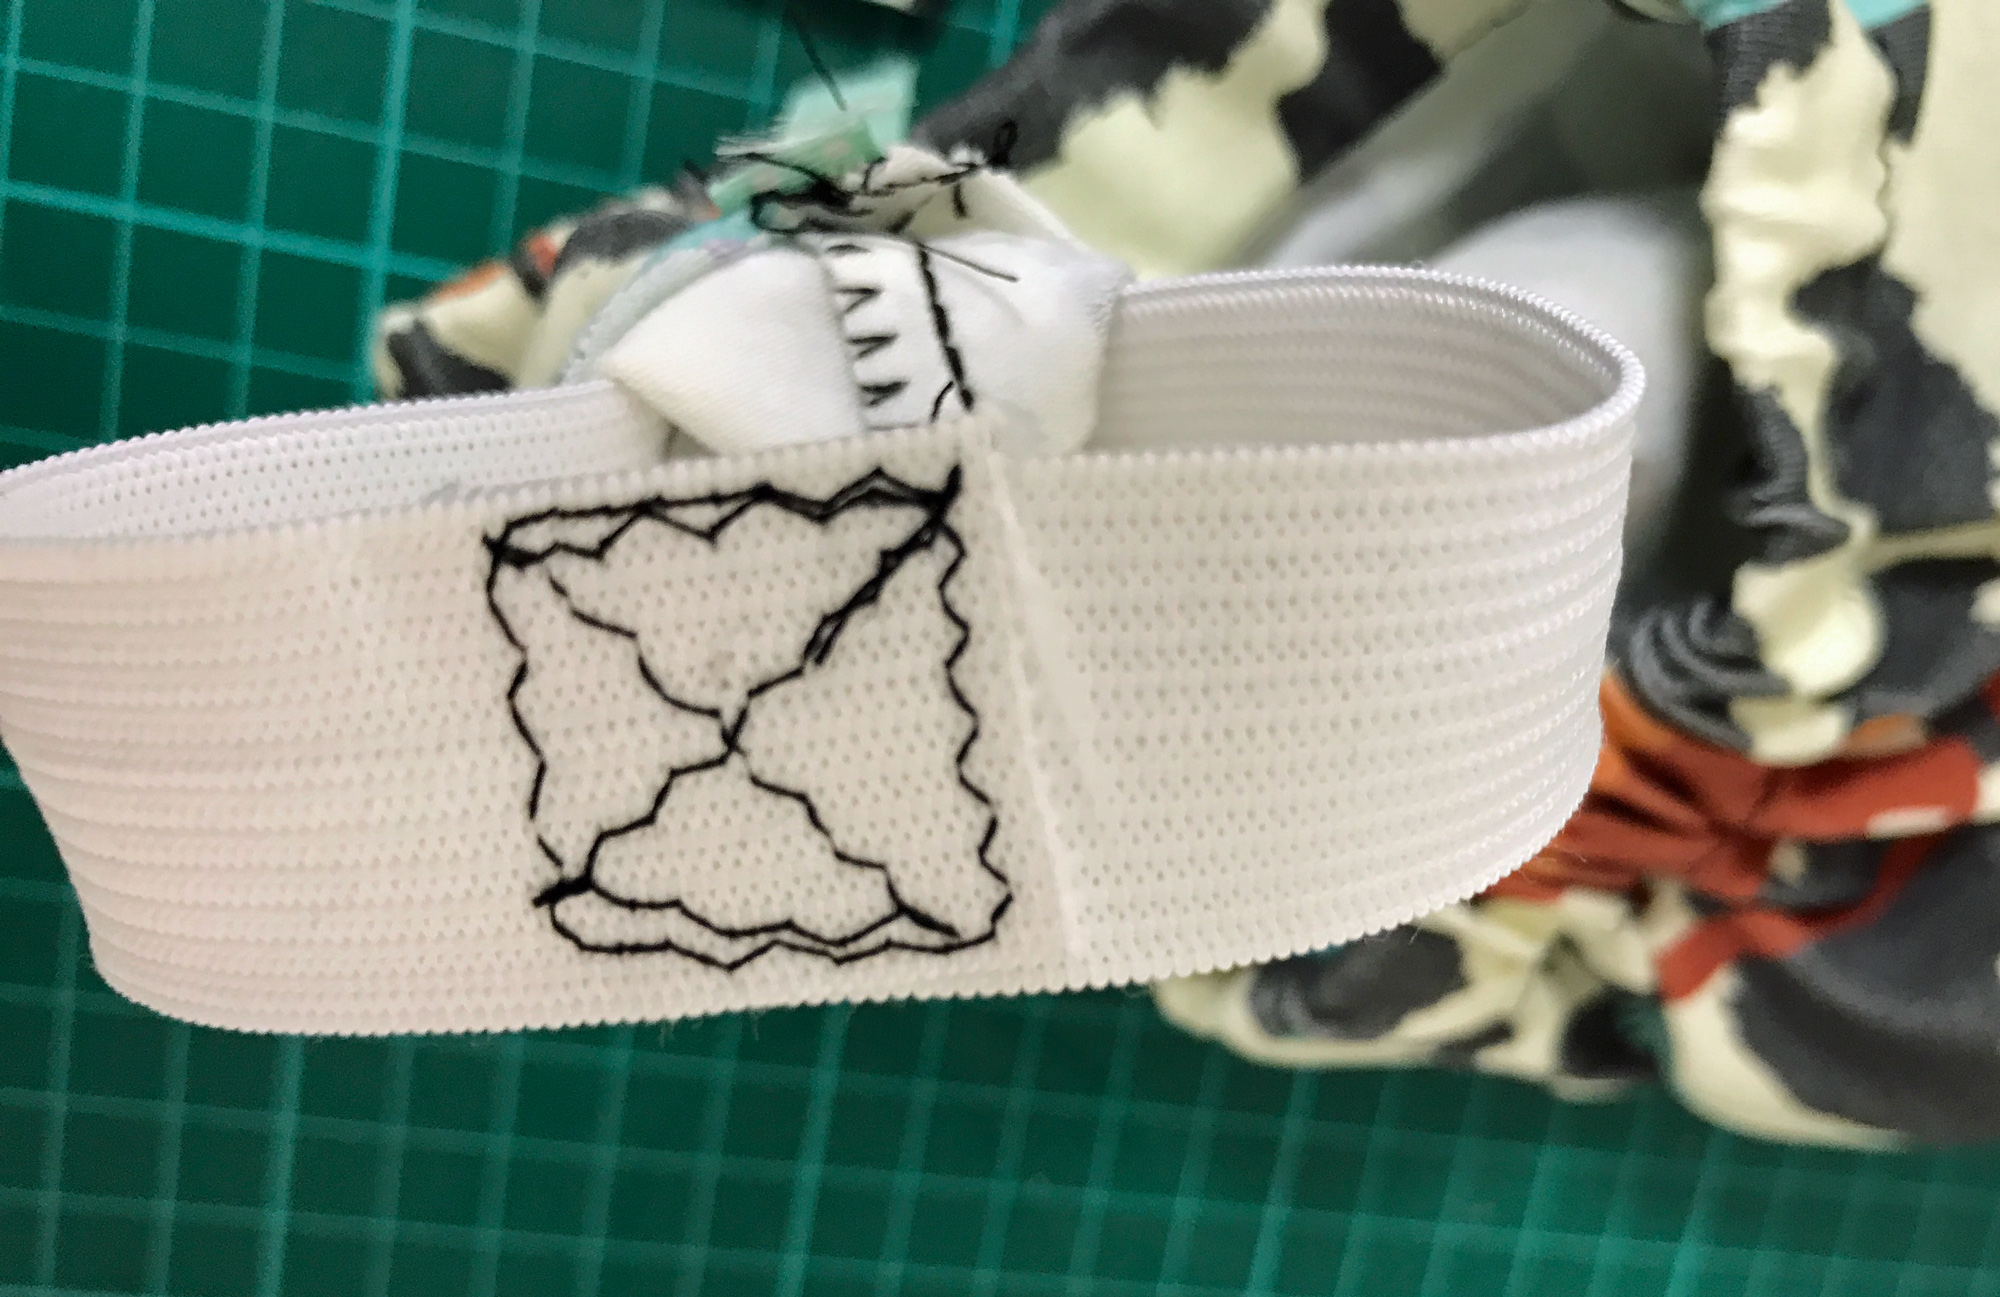
Now join the two ends of the elastic together by overlapping them about 1/2". I use a zigzag stitch, and sew a box and then an 'X' to make it secure. This can be the most fiddly bit, as you have to pull the elastic well clear, and it will probably not want to lie flat. Use clips or pins to hold it, being careful not to strike a pin with your sewing machine. You can always sew it by hand if you find this difficult to start with.
Now all you need to do is pull the elastic back in through the gap, easing it round, and close the gap, either by hand-stitching, or by machine - being careful not to catch the elastic. Wiggle the gathers along the waistband so they are even over the whole of the elastic.That's it! Your skirt is made.
That has given you a very simple gathered skirt - wasn't too hard, was it? By using pretty fabric, it will look lovely. There are a lot of things you can do to embellish it, without needing a much more complicated pattern.
- Add some ric rac or braid round the bottom, or some lace
- Make a sash to go with it
- Add a frill
- Make a paperbag top.
- Line it, perhaps with a lining designed to show underneath
- Add some shoulder straps to make it into - well, a skirt with shoulder straps - I think they call these suspender skirts in the US.
This skirt has both had some braid added, and a paperbag top. To find out how to make a paperbag top, see this post.
(If you'd like more detailed information about how to make a paperbag skirt rather than my general instructions, there is a tutorial by Flosstyle for a 'souffle skirt', and another one from Petite Stitchery for a 'sassy skirt'.)
These next two gathered skirts both have a frill added, and the lower one (with red bunnies) also has some red spotted bias binding on the bottom edge.
You may have noticed that these two have a separate waistband, which I'll tell you more about in a later post, after I've talk about circular and flared skirts. These in the pictures here are still gathered skirts, but rather than making a waistband channel and threading elastic through, the fabric has been gathered by being attached to some wide waistband elastic. A lot of people swear by this method. To start with, I found it more difficult to do than the 'threading through', so that's why I started with that in this post.
And this one is lined, as the fabric was quite see-through. I just treated the two fabrics as one at the top, basting them together before making the elastic casing. (Basting is using a long straight stitch and is not intended to be a strong seam.) But I've also made gathered skirts with a longer underskirt than the overskirt, with ric-rac braid on the underskirt that peeps out below. There are so many things you can do with a gathered skirt!
Here are a few more pictures of gathered skirts for my grandchildren. (I don't know why I keep saying grandchildren - they are all grand-daughters. But if a boy wants to wear a skirt, there's nothing wrong with that!) Several of these happen to be made with knit fabrics but they can be just as easily made with woven fabrics.
In my next posts on simple skirts, I'm going to move on to talk about circular skirts and other 'shaped' skirts. But I will also pick up on separate elastic waistbands, bias binding trims, and other variations, which can work for gathered skirts as well as for circular skirts, in my final post on making up and finishing skirts.
I hope you will have found my tutorial sufficient to persuade you it's easy to make little girls' skirts, but if you haven't found it clear enough, of feel you would still like an actual pattern, try this free one.
# Selvedge: Fabric is cut off a roll, or bolt, and the sides of the fabric are called the selvedge (also spelled selvage in the US). The selvedge is a self-finished edge, that won't fray. Sometimes you'll see a row of little pinpricks running alongside. Some fabrics have the manufacturer's name and the fabric name along the sides. The cut edge, that runs across from one selvedge to the other one, will sometimes fray, especially in a woven fabric. For most garments, you want the up and down direction of your garment to be parallel to the selvedge. In the case of the skirt, that is the short measurement.


No comments:
Post a Comment