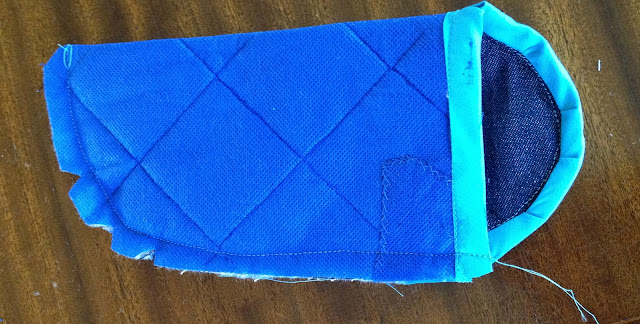
In the middle of packing a holiday case (yes, I'd left it that late) I realised that none of the cases I had were big enough in depth for either of my two favourite pairs on sunglasses.
So I had to make a new case, pronto. It had to be able to protect my sunglasses in the suitcase, and when out and about, but I didn't want it to be too heavy.
I knocked up this case in about 7 minutes. You could do a much better job in 15, but I didn't have 15 minutes available!

To make a similar shape, lay your sunglasses (or glasses) on your fabric, and draw a shape like the above, allowing enough for seam allowances either side.
Before you cut, check by wrapping around the glasses that it is going to fit, and that you will be able to get them in and out.
If you need a better idea of measurements, here are the measurements laid on mine. But remember that sunglasses vary in size. This is just to give you a general idea.

I would recommend placing and attaching a snap fastening to the flap and top of the centre of the short side before sewing the side together, planning this carefully to allow for the seam allowance down the open edge. But if you fail to do this, it's not too difficult to do it at the end.
I then folded the whole case right sides together and sewed round the side seam.
I sewed a curved shape bottom and trimmed the excess off, but you could make it square. It's easier to turn it the right way out with a curve.
I oversewed (with a zig zag stitch) the top inch or so of the side seam - I didn't bother to go all the way down. I clipped the curve, and finally turned it the right way out, using a wooden spoon handle to push the corner out.
As you may see from the some of the photos, my version didn't have a snap fastener to start with (which would be my preferred closure) as I found I'd run out of the females. (I think I had done some projects with a couple of females on one shoulder front to one male on the shoulder back, hence I had several males left over and just hadn't noticed.) Instead, I hand-sewed on large metal press-studs, marginally slower than hammering in snap fasteners - but works just as well. Later, I was able to replace this with snap fasteners. Here's how I measured for the positioning of the snap fasteners.
This little piece goes in between the bridge of the frame and the folded ear pieces to try and avoid too much squashing in luggage. But I'm going to lose it sooner or later, so don't bother unless you are goimg to have the sunglasses in a very squahsed case!
So you, too, can throw one of these together in a few minutes, or spend slightly longer making them look more professional, Either way, the case should protect your sunglasses.


No comments:
Post a Comment